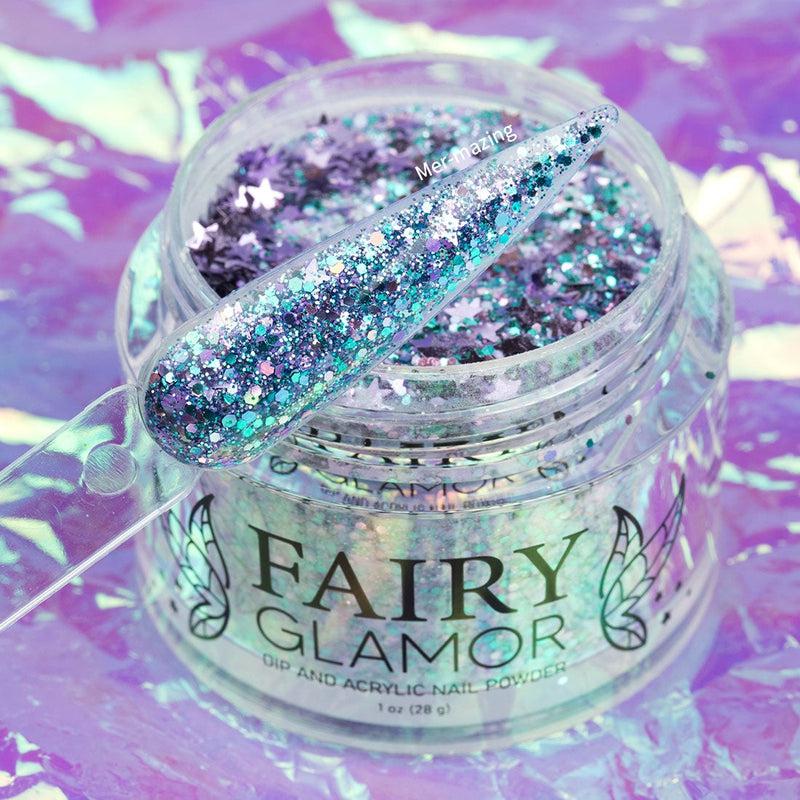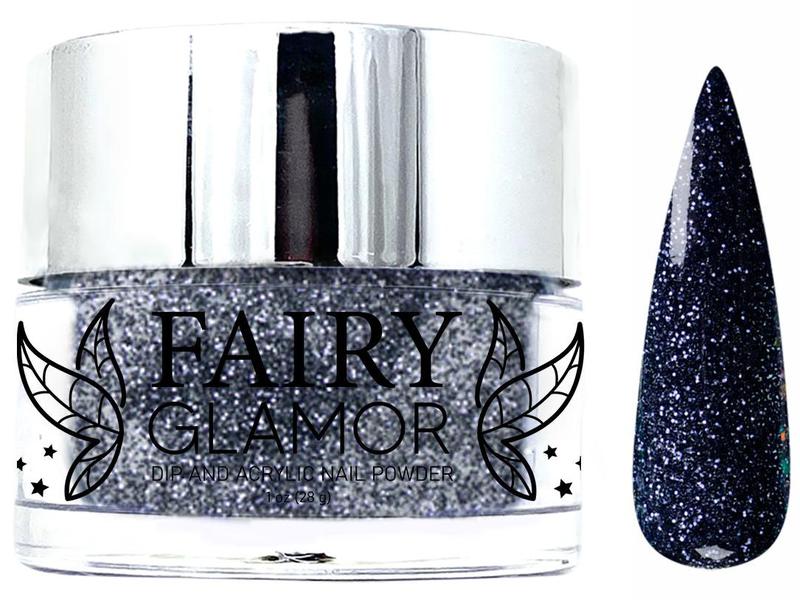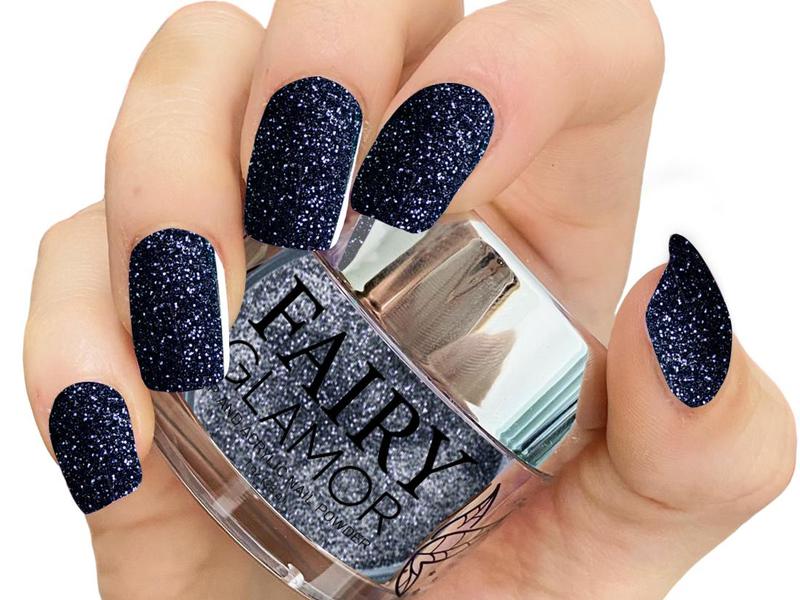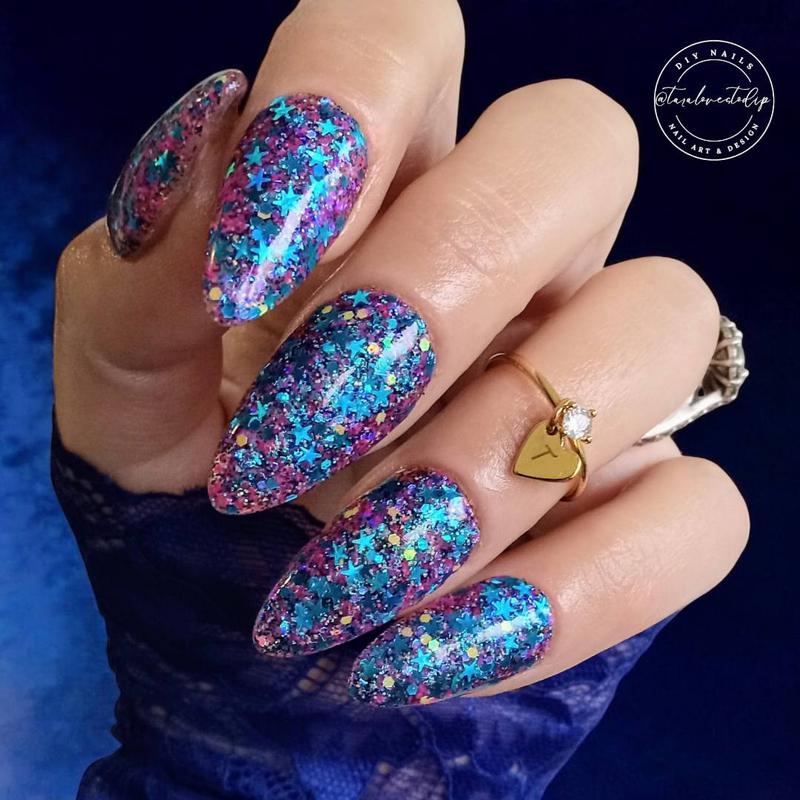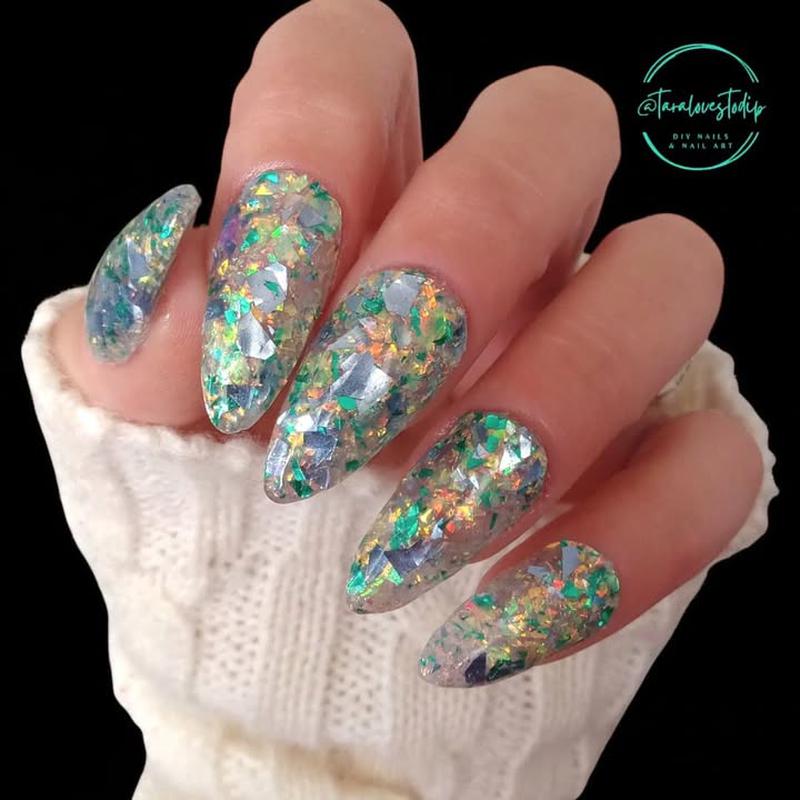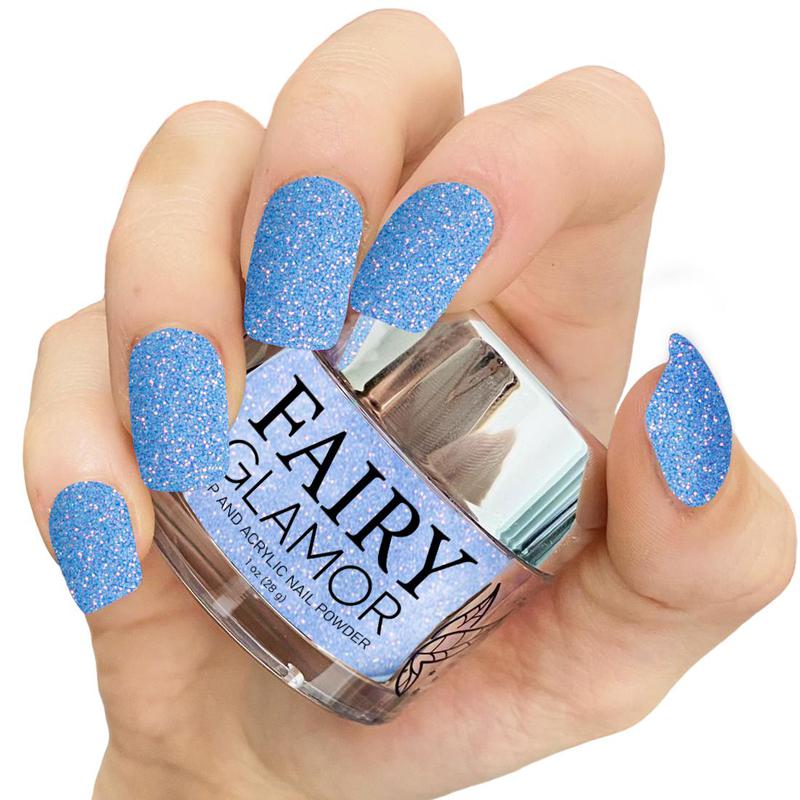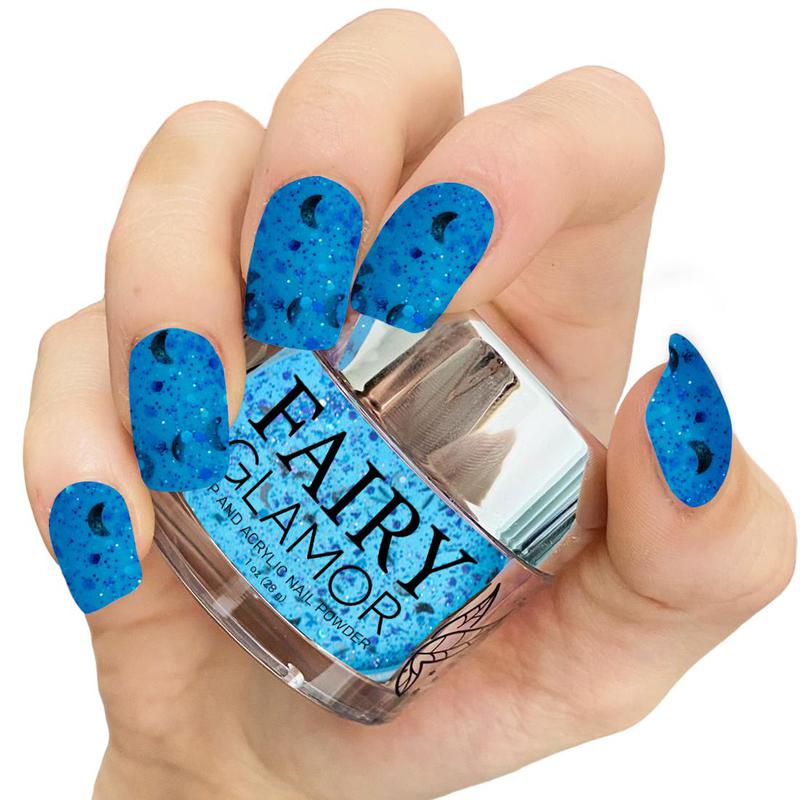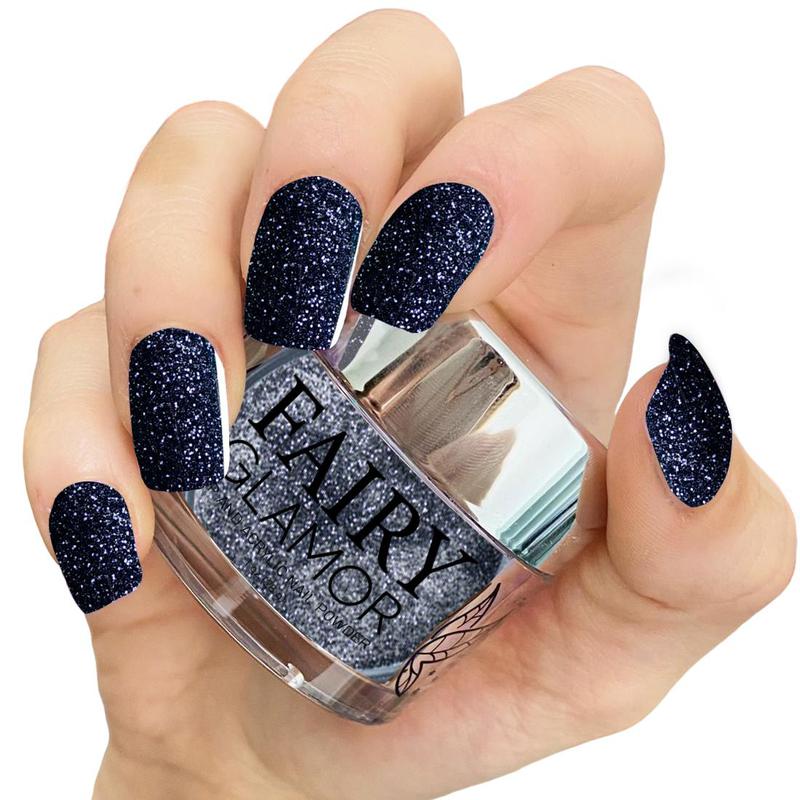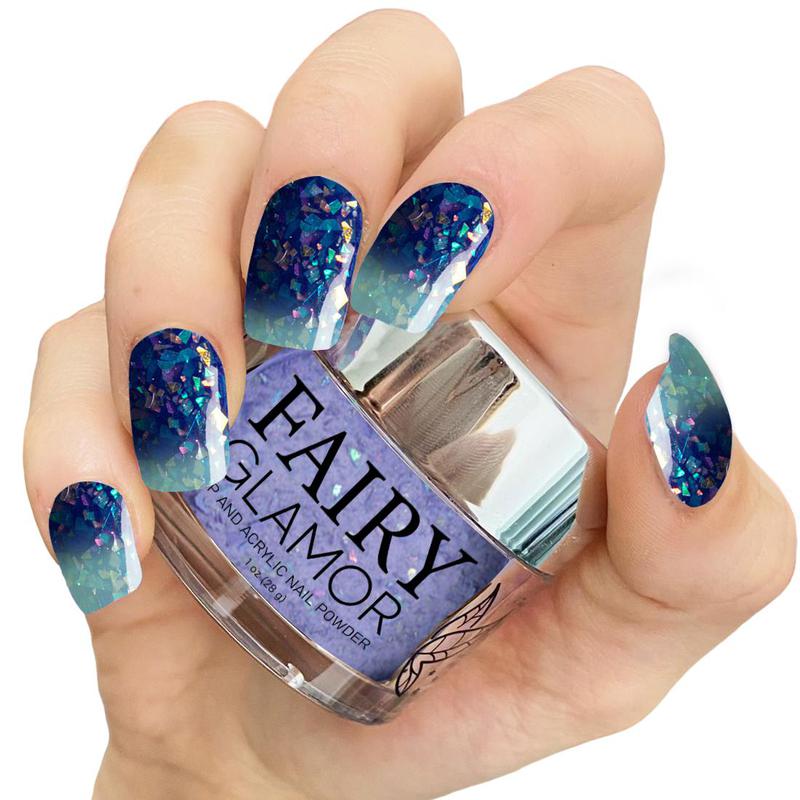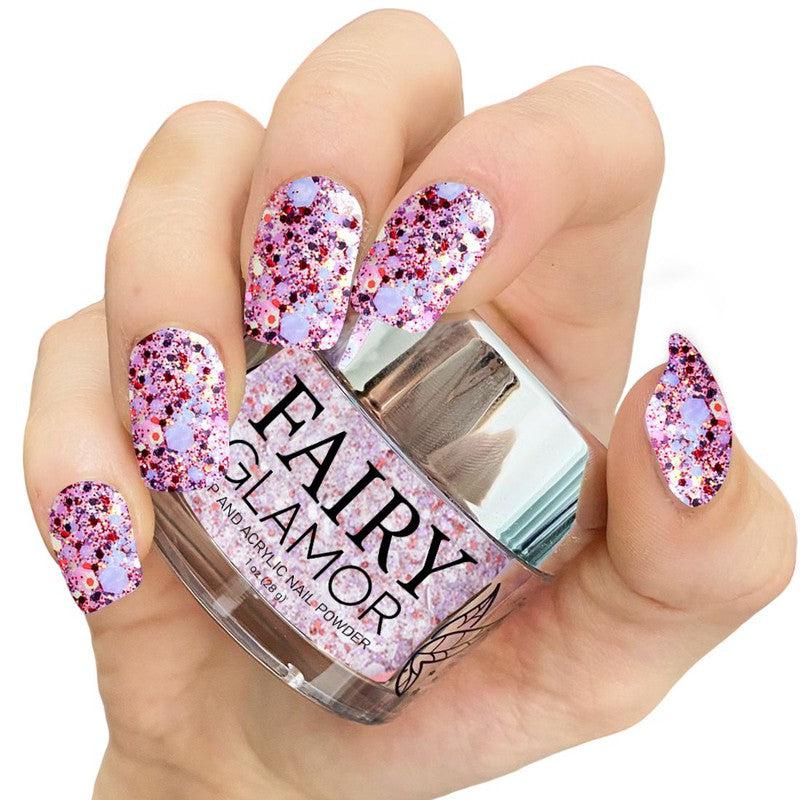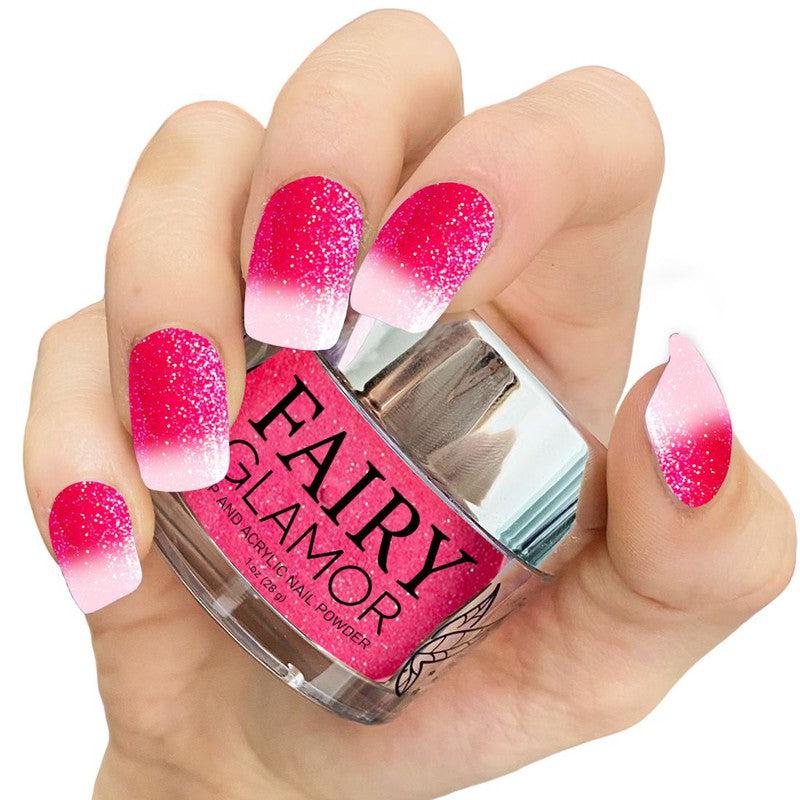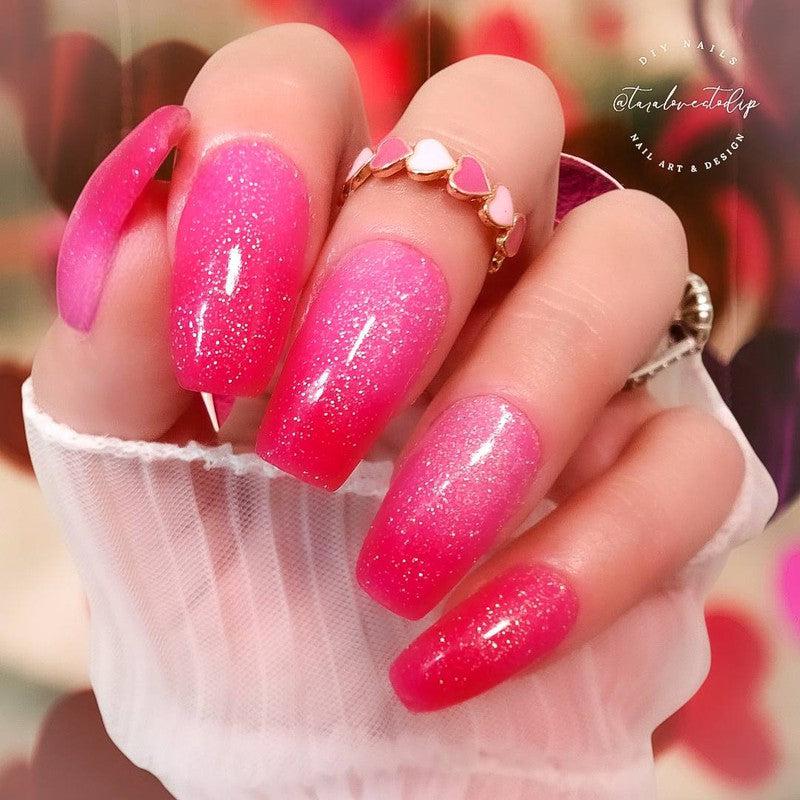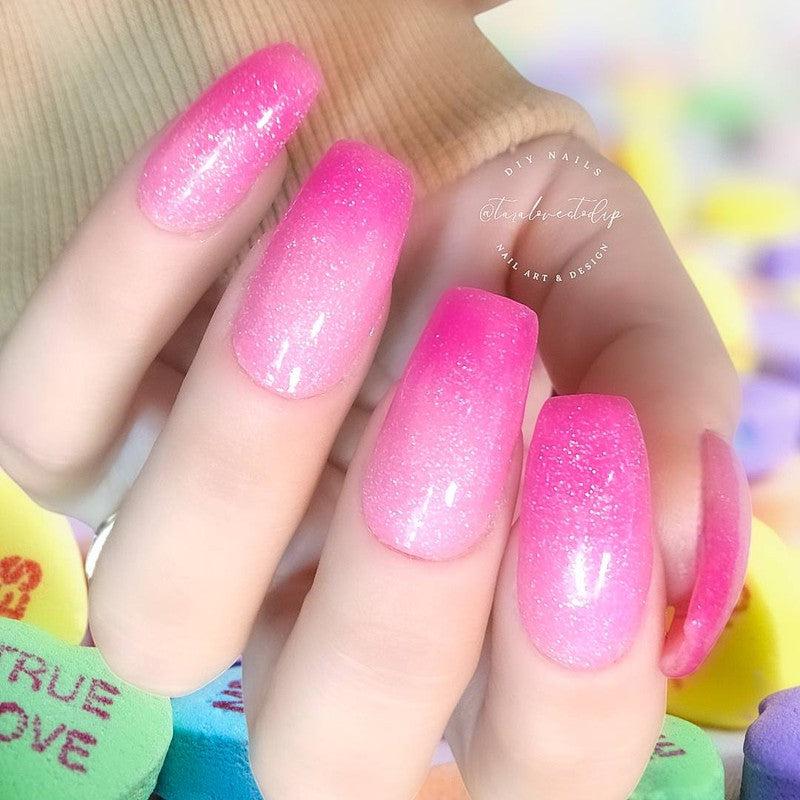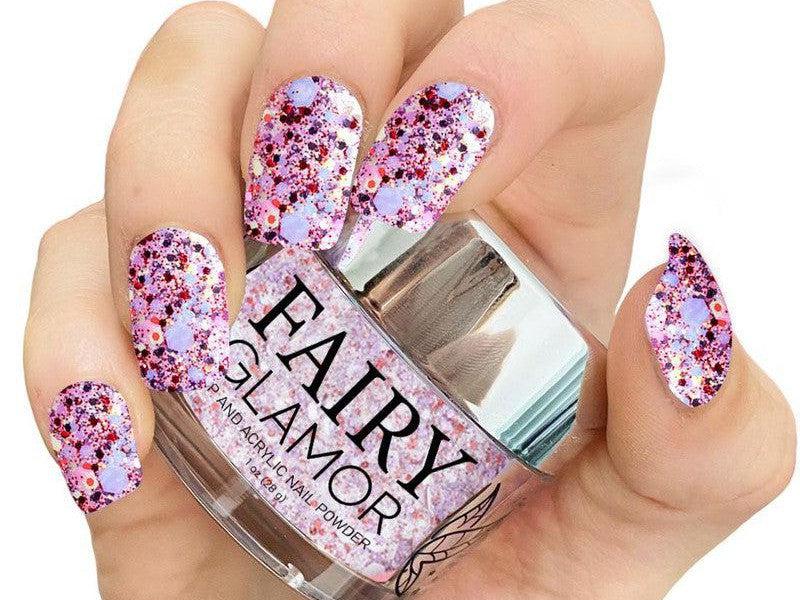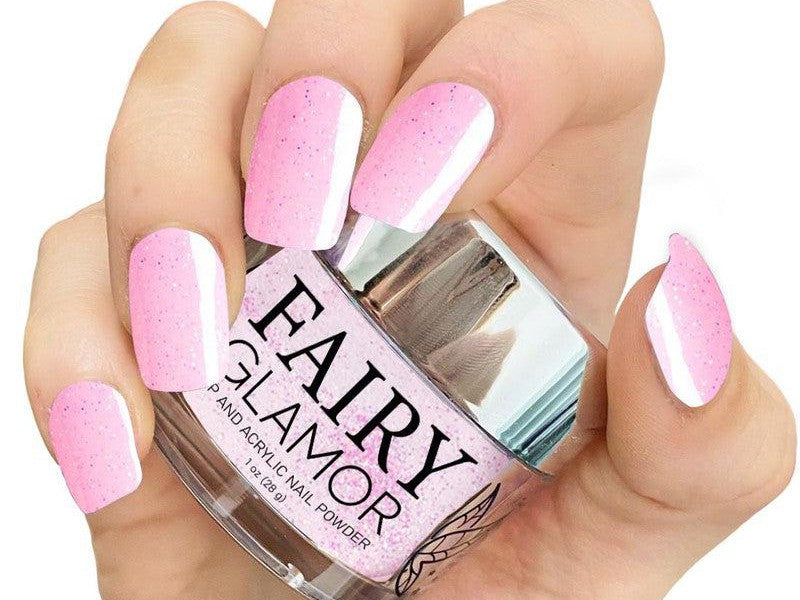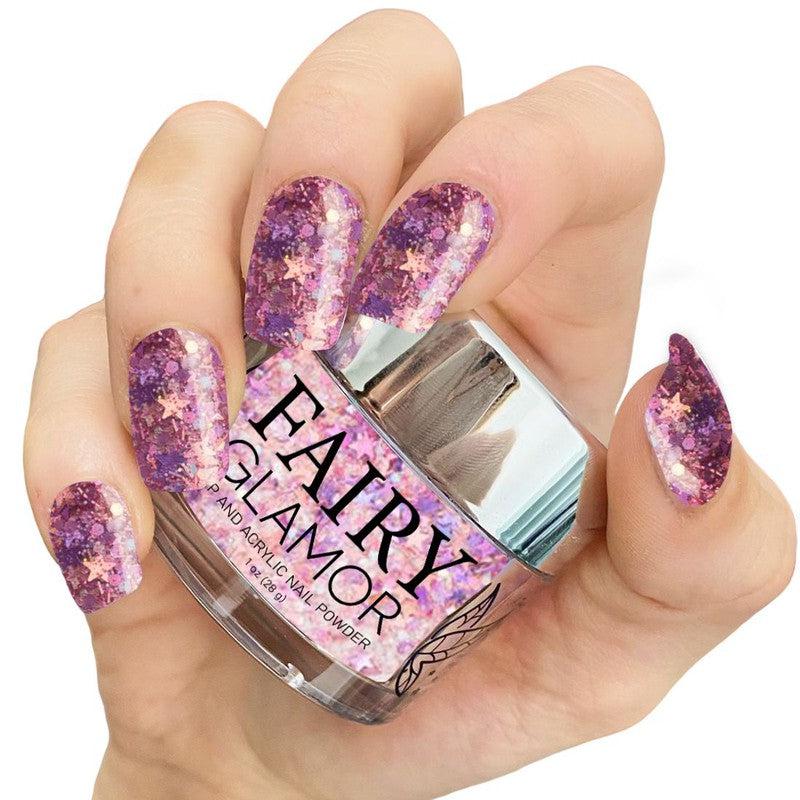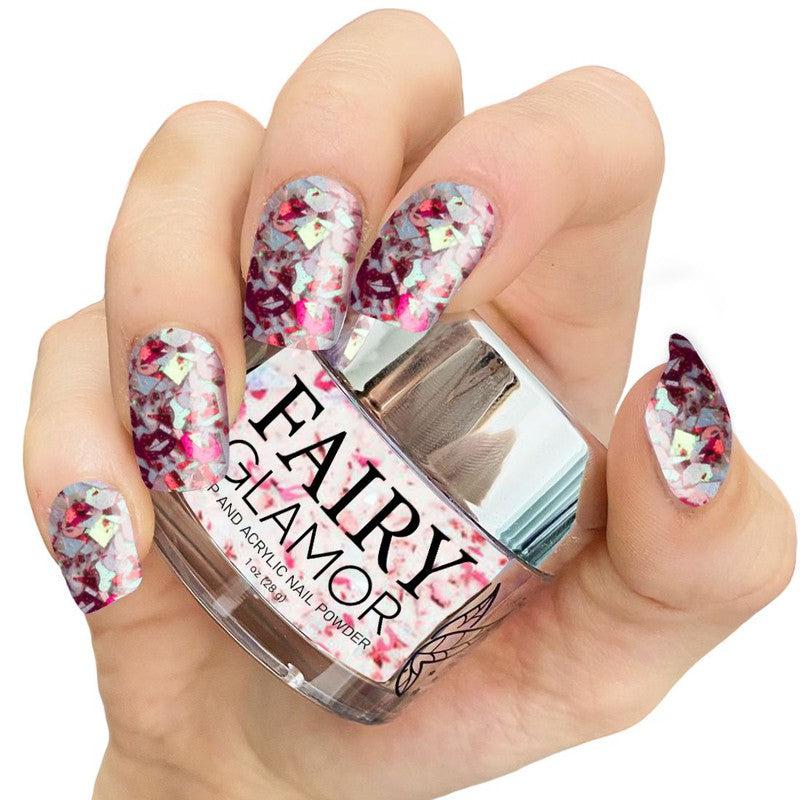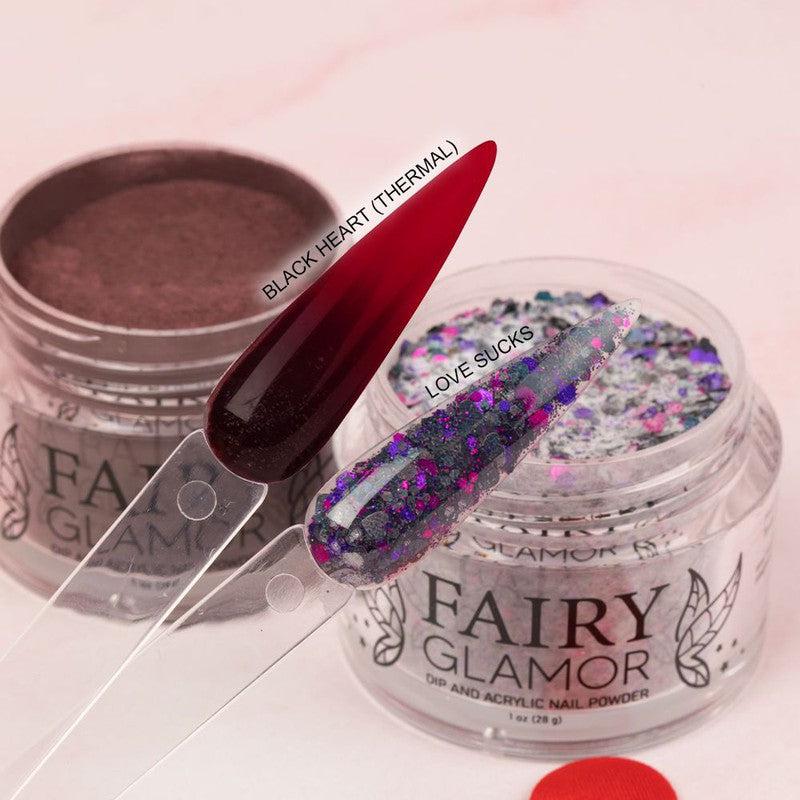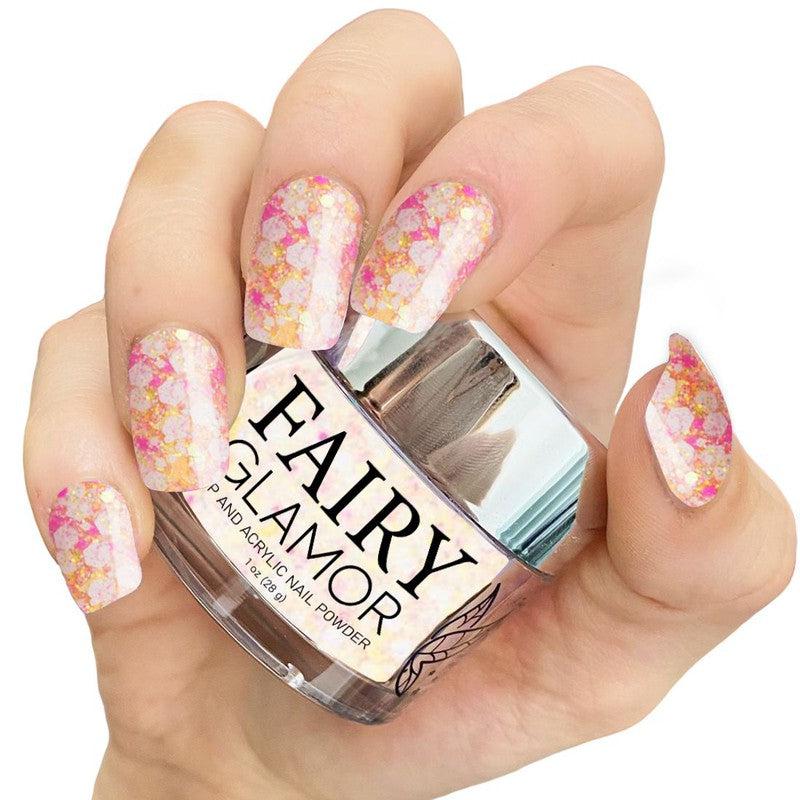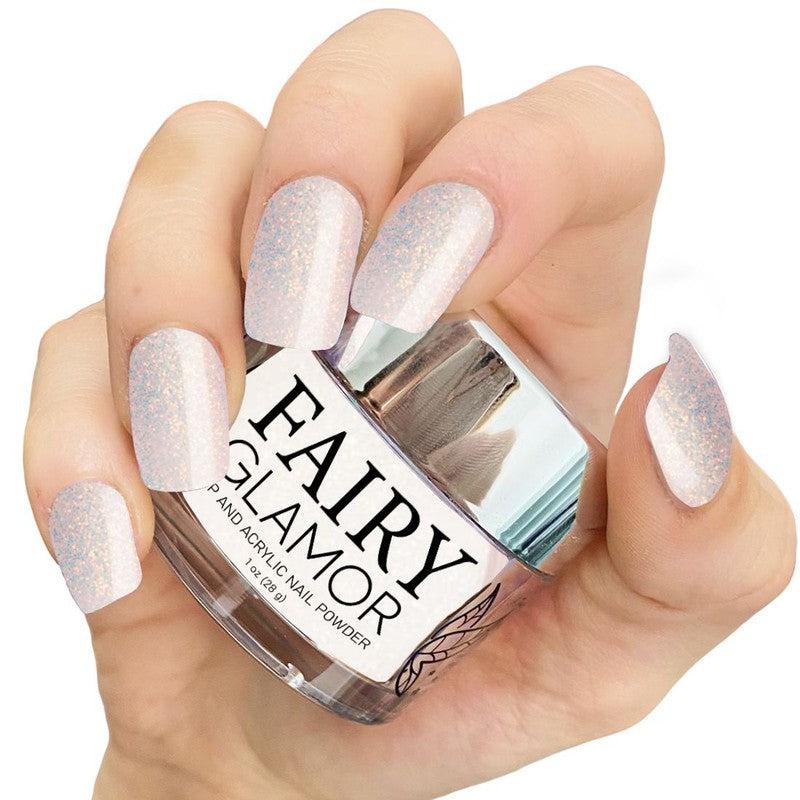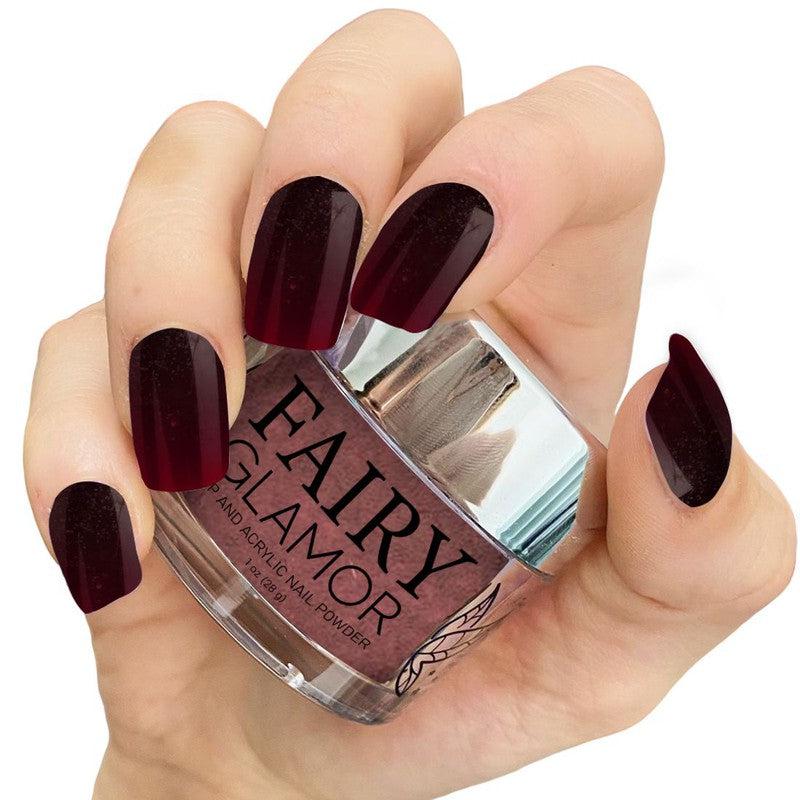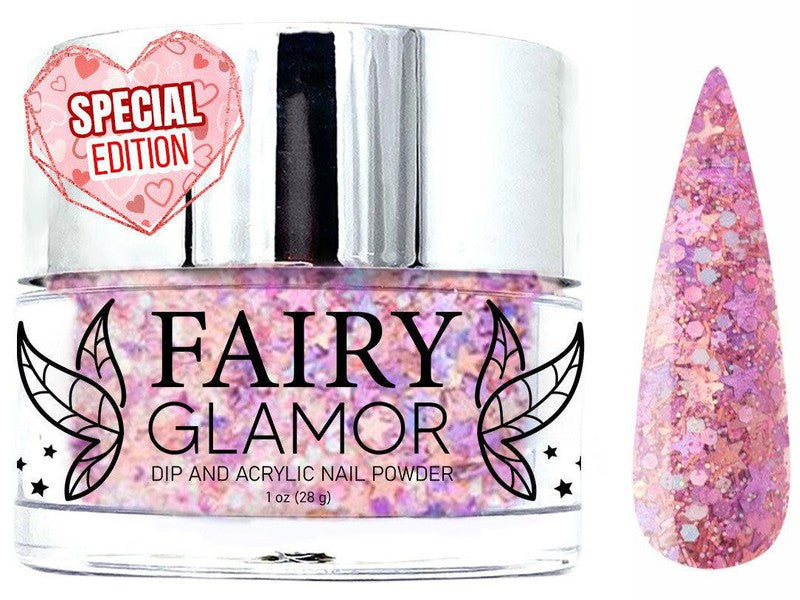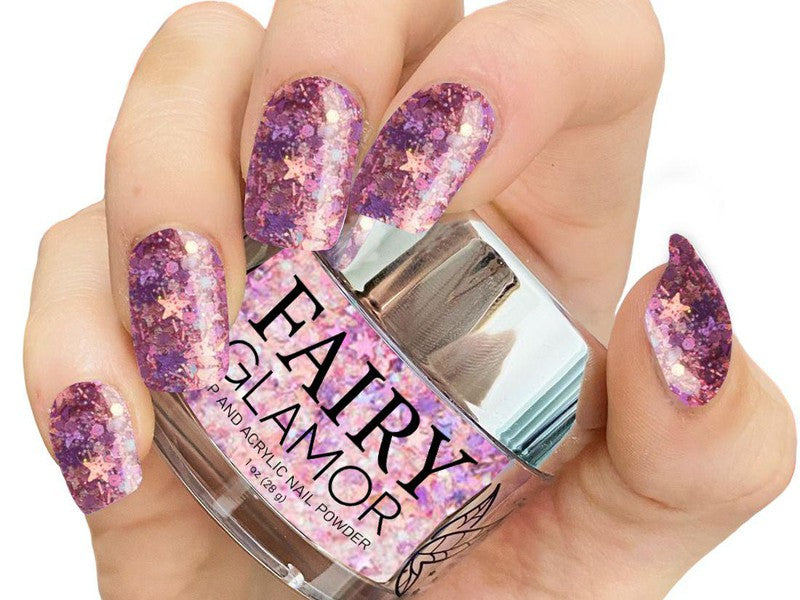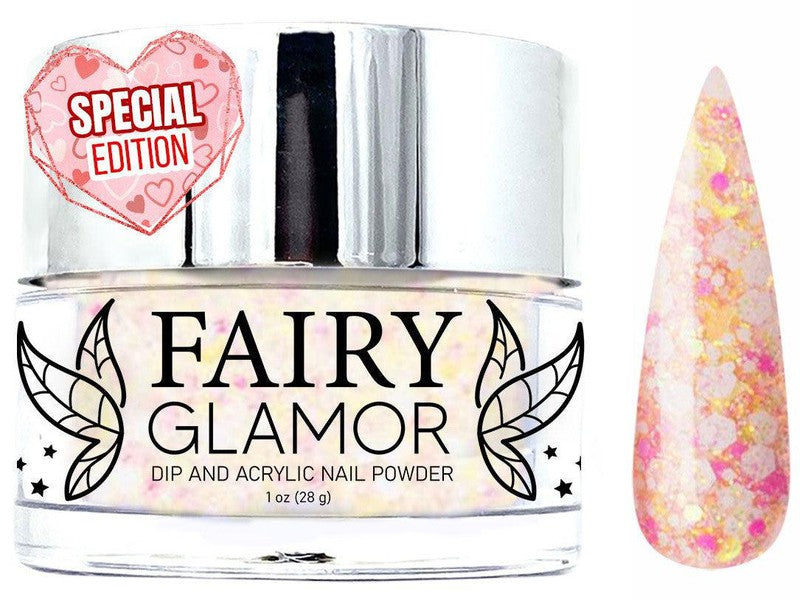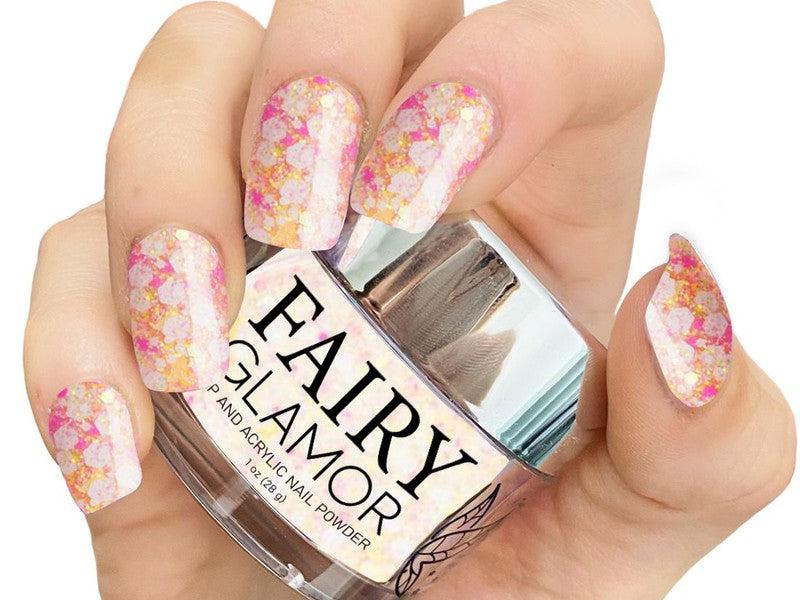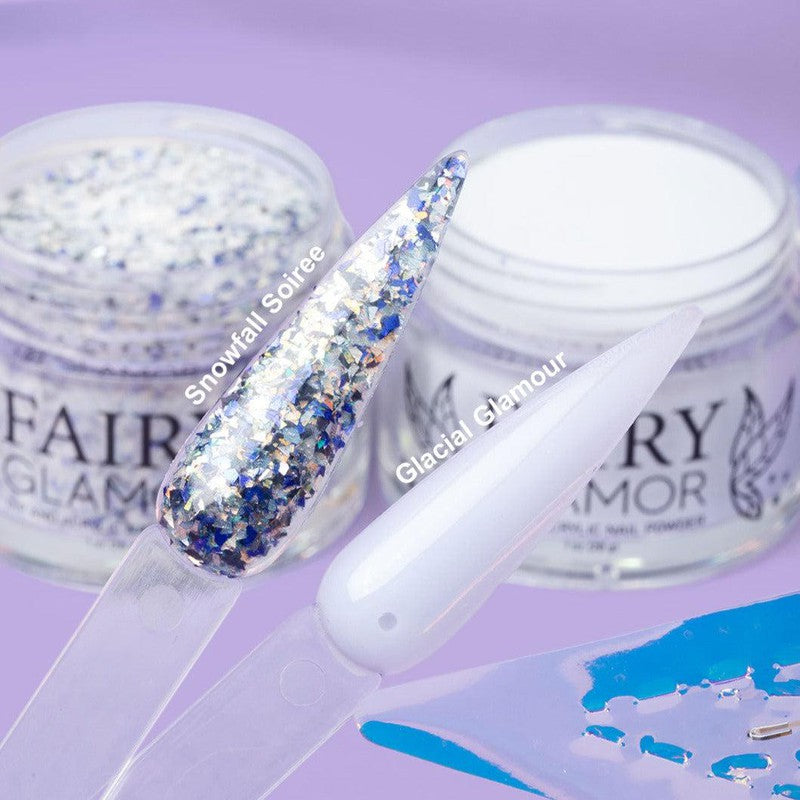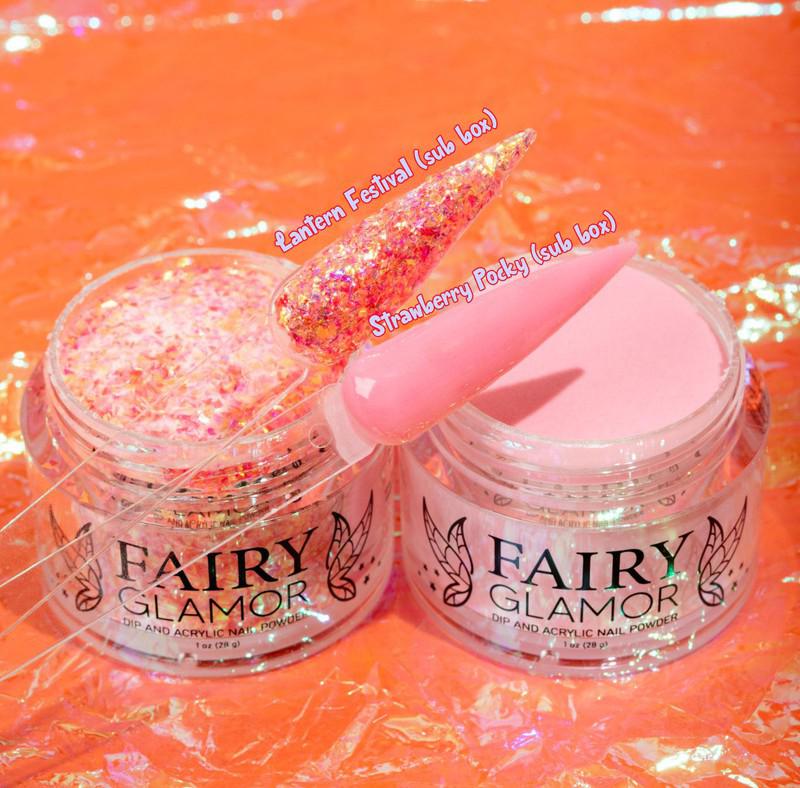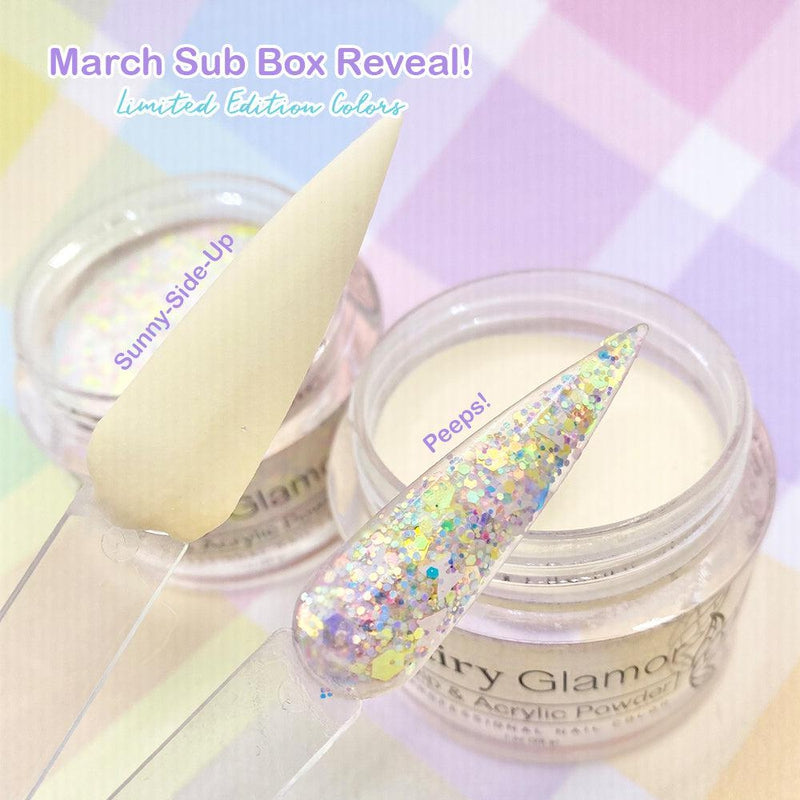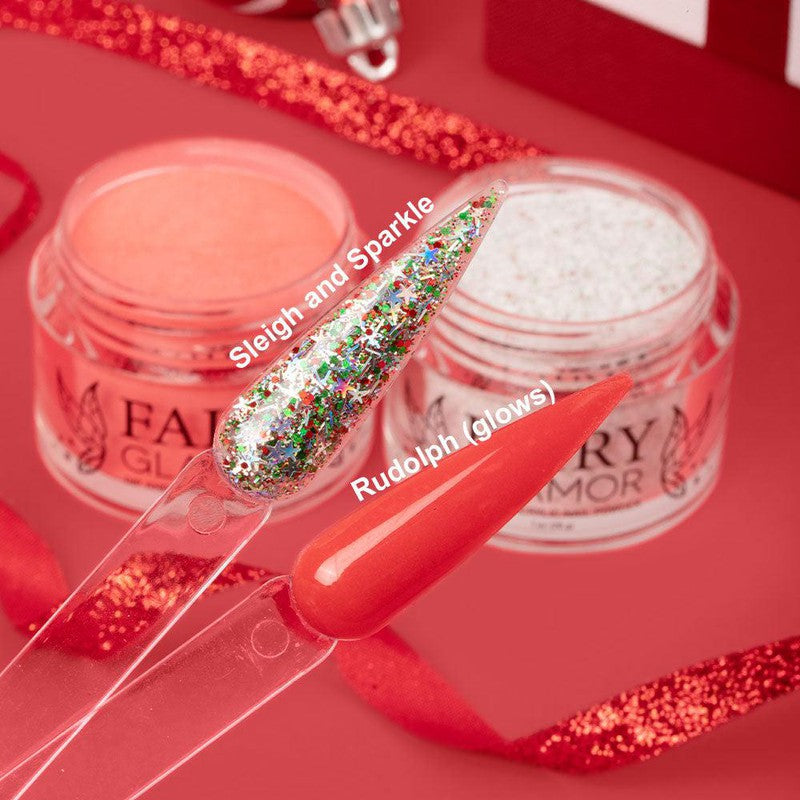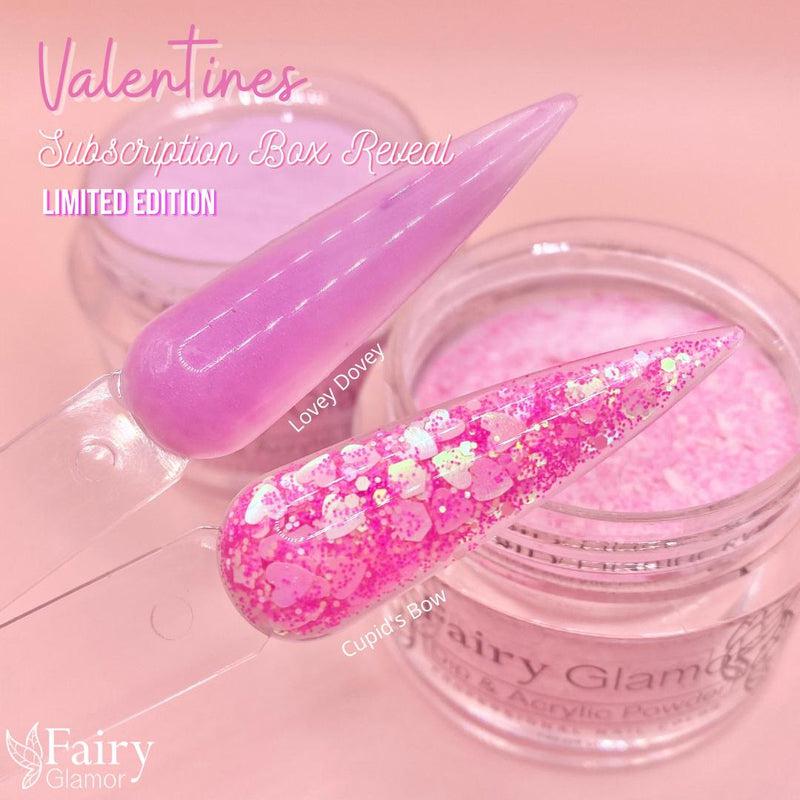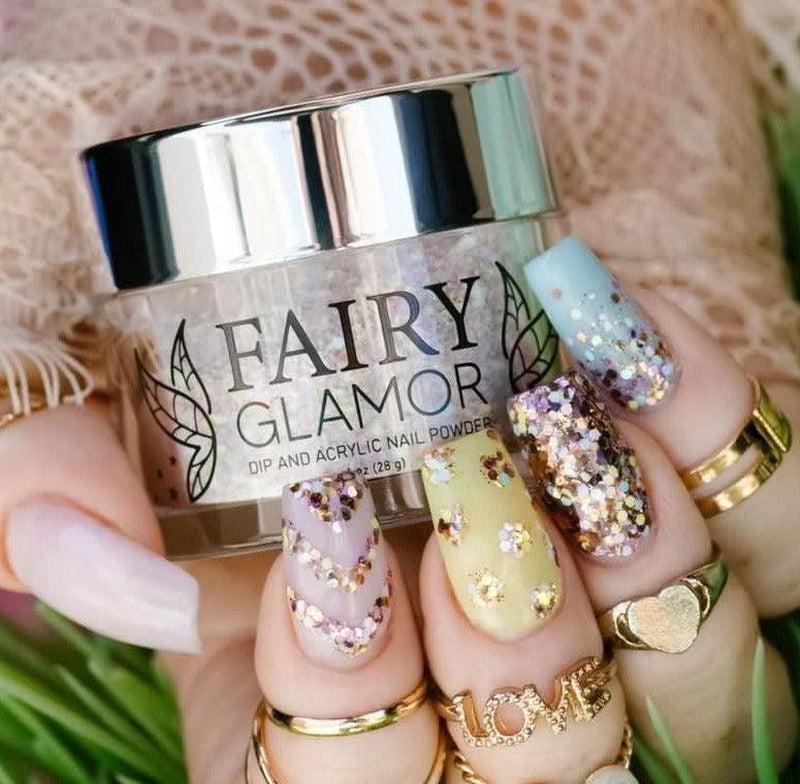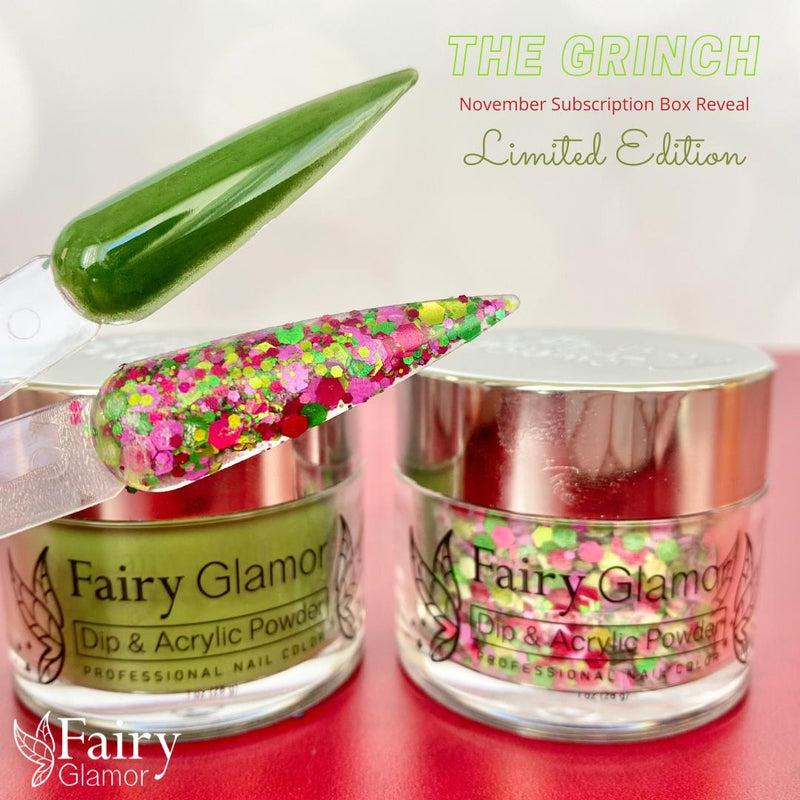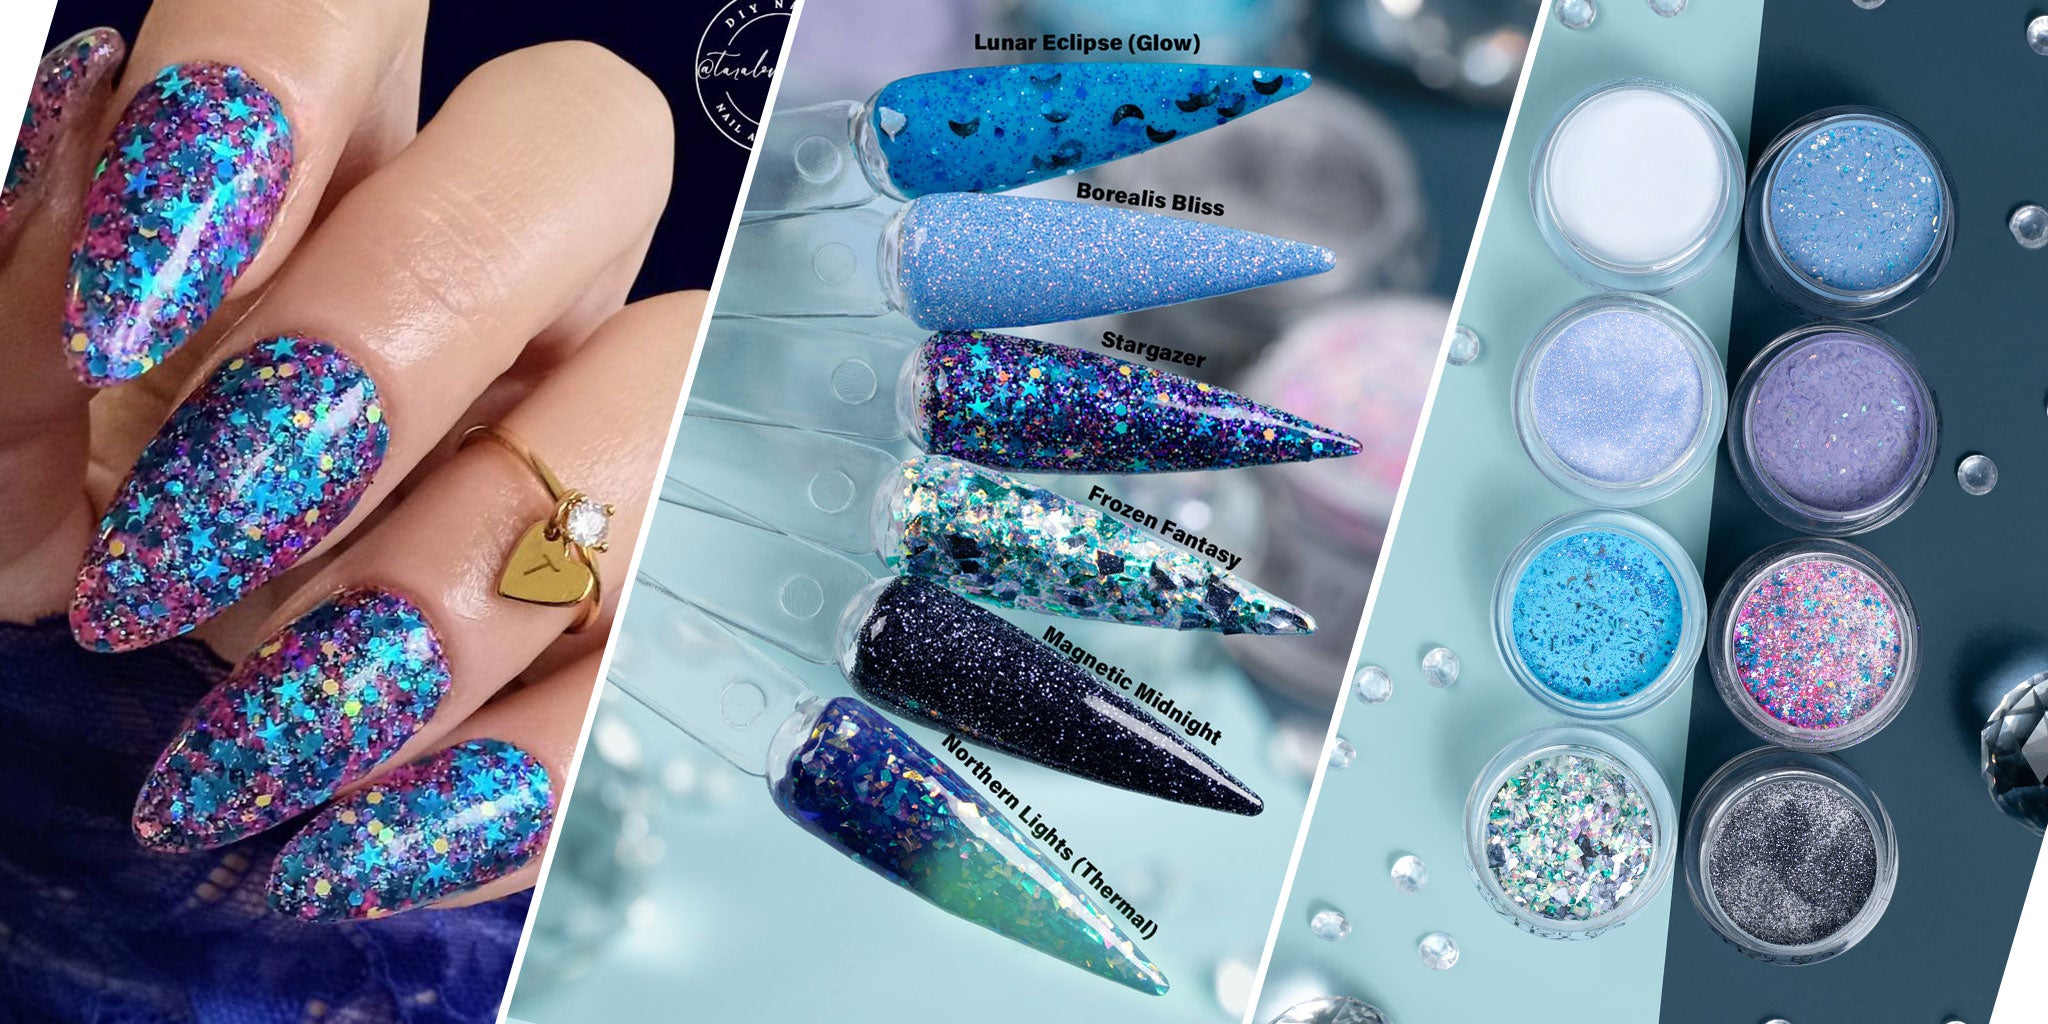


Glossy acrylic nails have been gaining popularity throughout the decades, and for good reason! Acrylic is a simple (ish) way to lengthen, thicken, and color your nails. The best part? Acrylic comes in hundreds of shiny colors and finishes; you can choose from chunky glitter nails, translucent shades, matte nails, or the most popular, shiny acrylic.
However, for both beginners and experienced professionals, getting your acrylic perfectly glossy can be a challenging feat if you don’t do it correctly or make a few simple mistakes. Nails take practice! Don’t give up if you don’t get acrylics right the first time because “every master was once a disaster.”
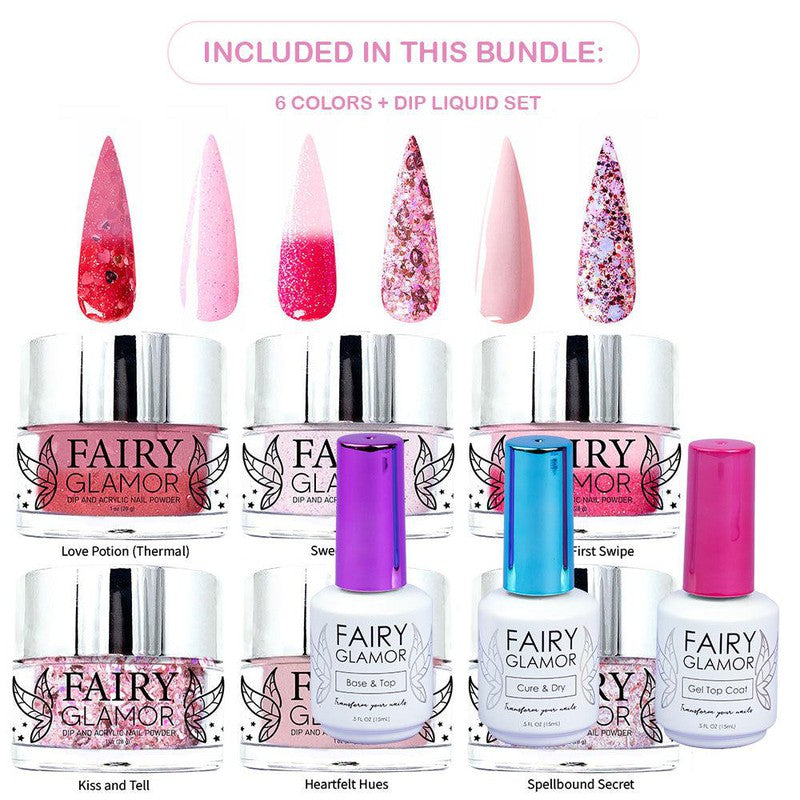
Are you looking for how to get your dip powder nails glossy and shiny? Click here to read our full tutorial.
Let’s start with some things that you should, at no cost, do.
What Not to Do
There are a few practices that many beginning nail artists make that prevent that beautiful sheen on acrylic nails.
Cross-Contaminating Everything
Cross-contamination is highest on the list of mistakes. Think about the acrylic application like food prep; you don’t want your stuff touching each other because it could mess up the final dish or, in our case, the last nail look.
This includes all aspects of acrylics. For nail prep, it’s keeping the nail dehydrator and base coat separately; don’t apply the base coat until the nail dehydrator has wholly dried, because that wet dehydrator could contaminate the rest of the product in your Base & Bond (our magic 2-in-1 base and bonder) and ruin the whole bottle.
Most people keep the nail prep supplies separately no problem, but when it comes to the actual acrylic, it’s a different ballgame. Acrylic is easy to ruin if you use too much monomer solution (the stuff that makes acrylic cement), as it can spread to the rest of the acrylic in your bottle and activate the whole thing, giving you cloudy, bumpy nails. Wiping your brush clean between each bead is vital to prevent this from happening, and make sure you drain the brush from extra monomer liquid; it should not be dripping wet.
Lastly, consider the top coat. A common mistake is to put the top coat on too soon while the acrylic is still wet, leaving the top coat brush full of acrylic that will be shoved back into the bottle and ruin the whole bottle. If you see anything weird on your top coat brush (or any brush, for that matter), such as lint fibers, acrylic powder, a cloudy substance, etc., wipe the brush off before putting it back into its original home.
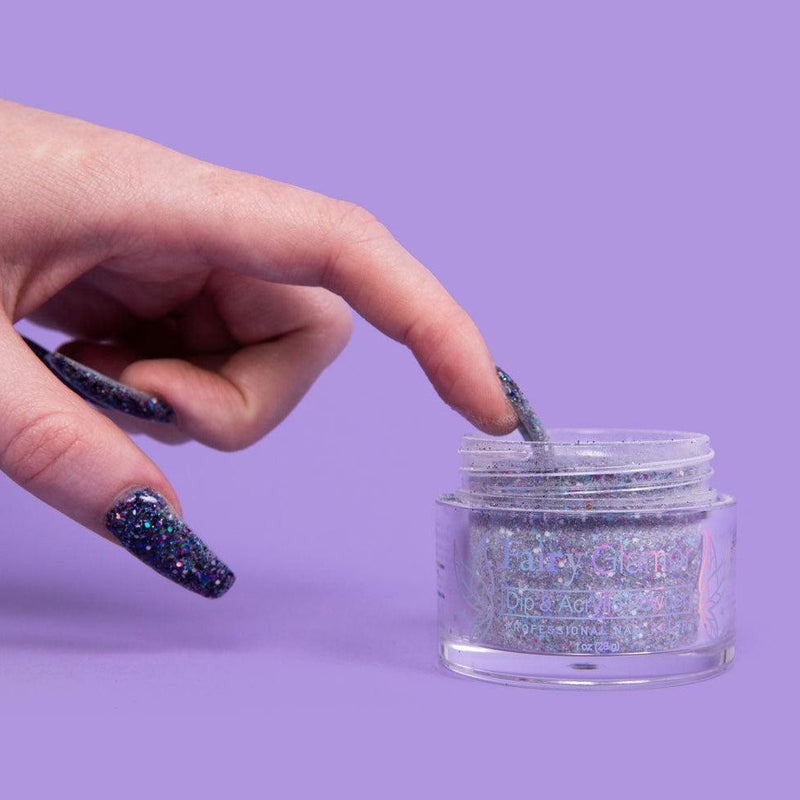
Old/Unmixed Acrylic Powder
In general, acrylic powder has lots of components that are crushed and then blended. Just like salad dressing (wow, lots of food metaphors today), acrylic can separate. Give your bottle a quick shake (make sure the lid is tightly screwed on… a loose top is a recipe for disaster!) or stir up the powder with a small spoon/stirring rod.
Improper nail prep
Nail prep is the next biggest mistake in acrylic nails. Although you might be super excited to use your acrylic powder for the first or the hundredth time, you should never just pop a bead of acrylic on an unprepared nail; it’s a recipe for disaster.
Keep reading to find out how to properly prep your nails!

So, What Should I Do?
Proper nail prep
Here's how to properly prep your nails for ultimate shine:
- Wash your hands. Scrub under your nails with a nail brush and make sure there isn't any visible dirt or debris on, under, or around the nail. Plus, washing your hands is essential!
- Push back your cuticles. Not only do the look of untidy cuticles make a manicure look messy, but not pushing them back far enough can result in a burning sensation while attempting to remove the powder, or even an infection if you’re not careful. You can use a cuticle remover to help boost this process. If you’re adequately trained, you can clip your cuticles to prevent any damage, but don’t attempt this if you’re a beginner, as you could clip off part of the actual skin on your finger (which is not fun, BTW).
- Buff those nail beds! Using a manual file or an electric drill with a softer grit, gently buff away the shiny top layer of your nails, being careful not to use too much pressure or rubbing in just one spot. This process helps remove excess oils in the nail and allows the acrylic powder to “grab on” better. When you omit this step, your manicure might only last you a week (or less). I’ve had dip powder stay on my nails for over two months (it wasn’t pretty since it was so grown out, but it stayed in one piece) when I focused on buffing my nails properly. The nail should be slightly rough to the touch; make sure to use rubbing alcohol to remove any oil after touching your nail.
- Remove any nail particles that are chilling on your nail. I recommend using a lint-free wipe (every nail tech knows the struggle of those little lint fuzzies that get stuck to EVERYTHING) with a bit of rubbing alcohol to help dehydrate the nail and remove that nail dust you just buffed off to prevent a bumpy manicure.
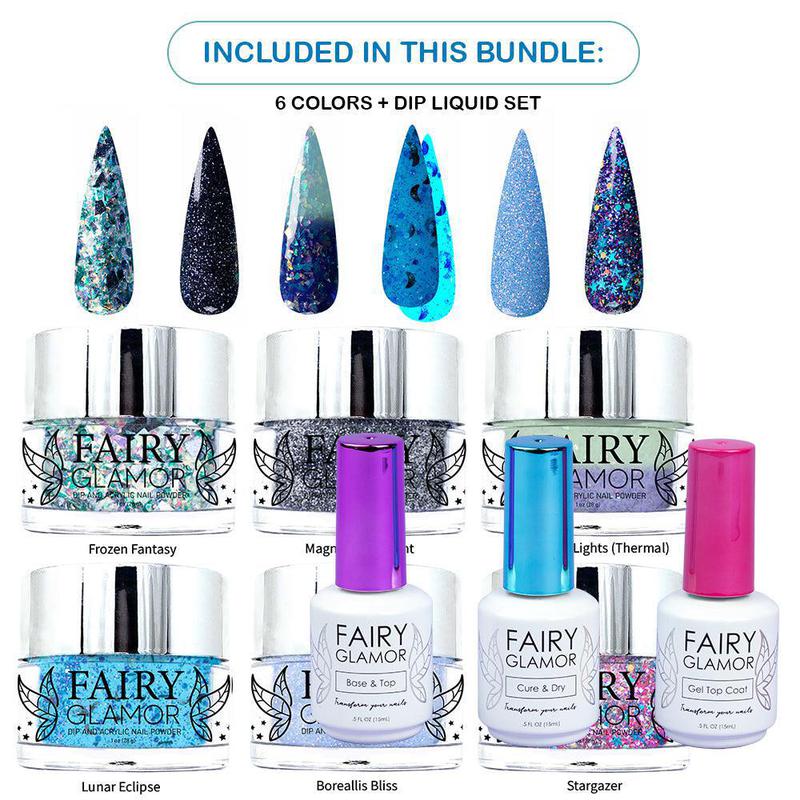
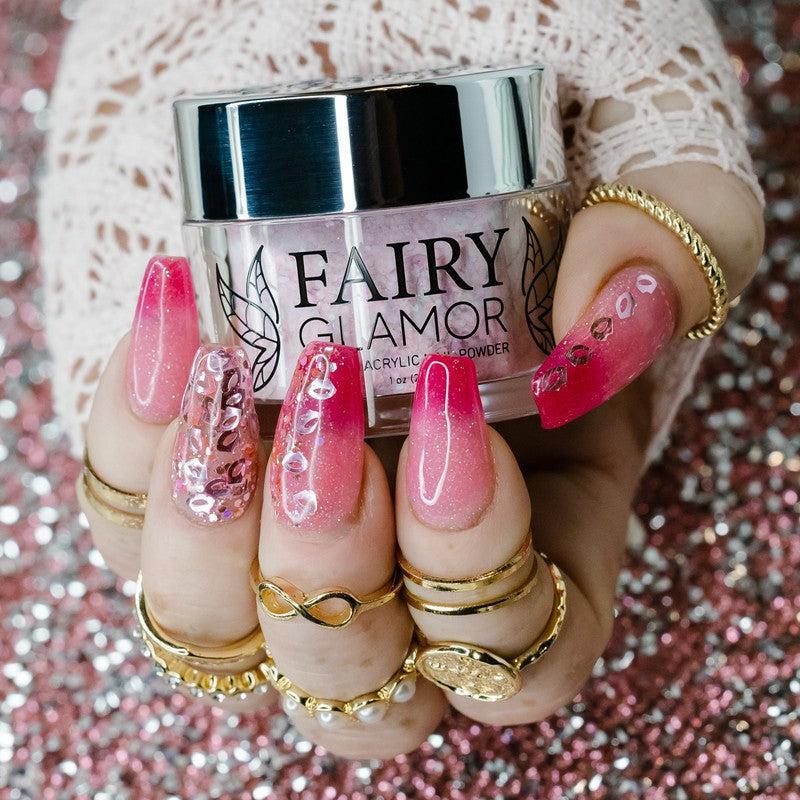
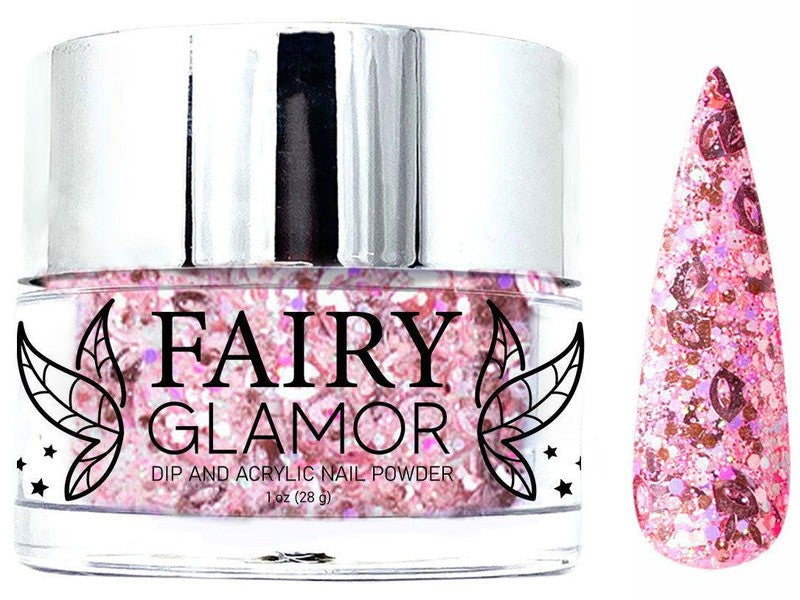
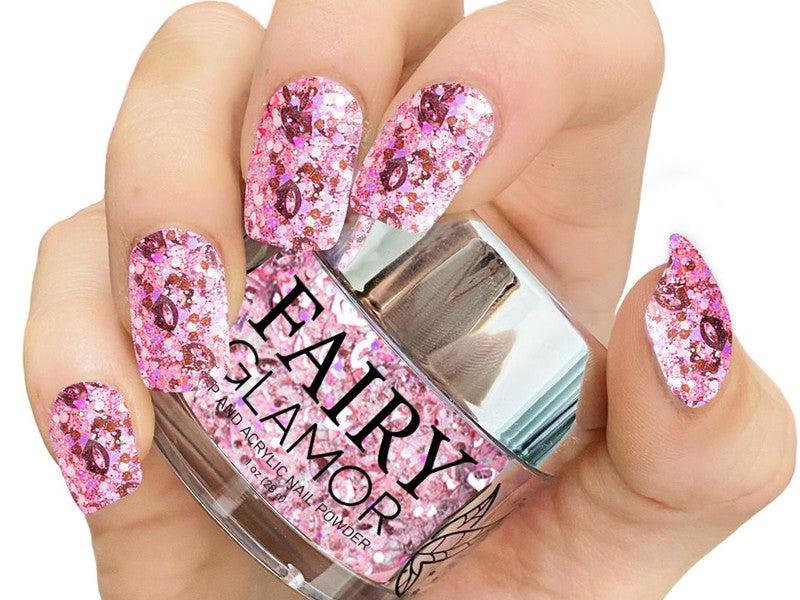
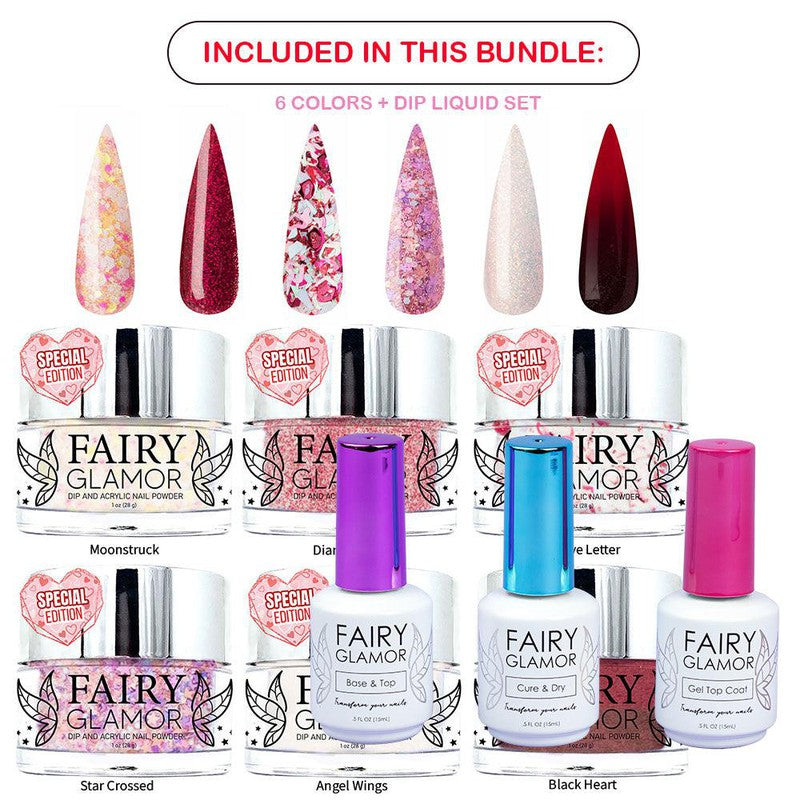
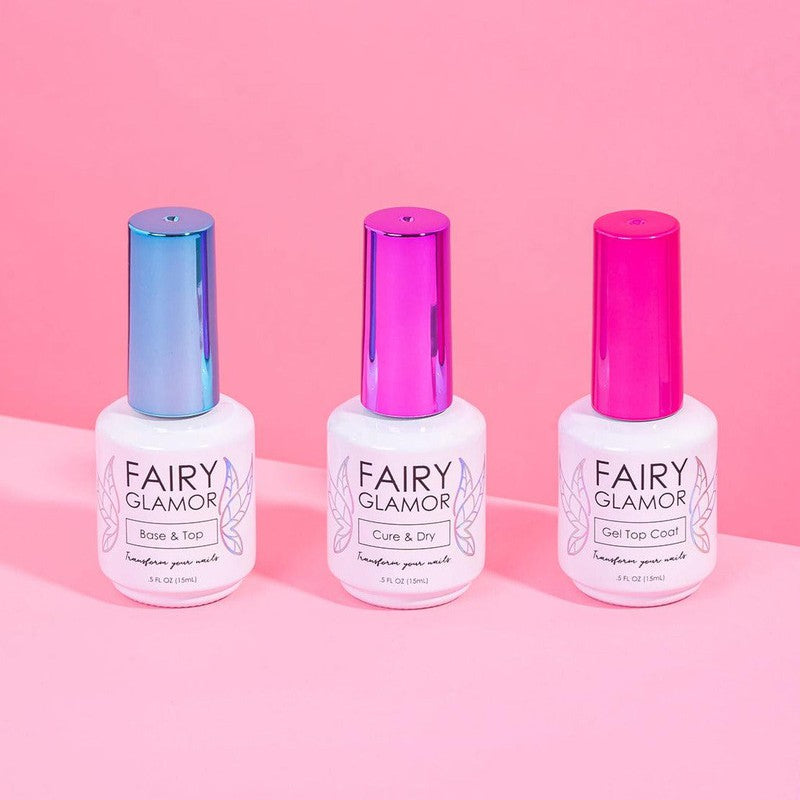
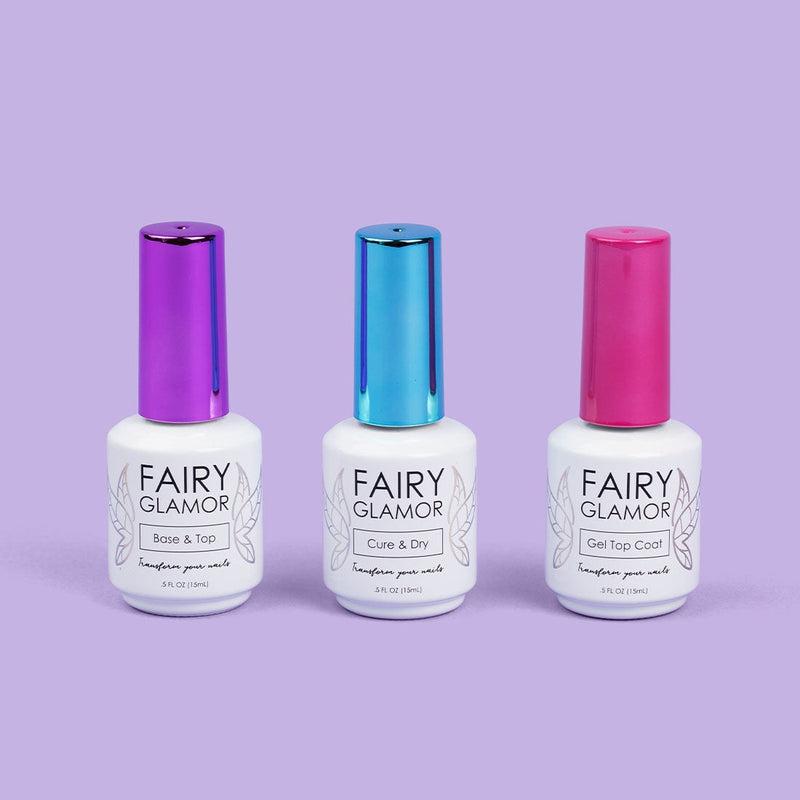
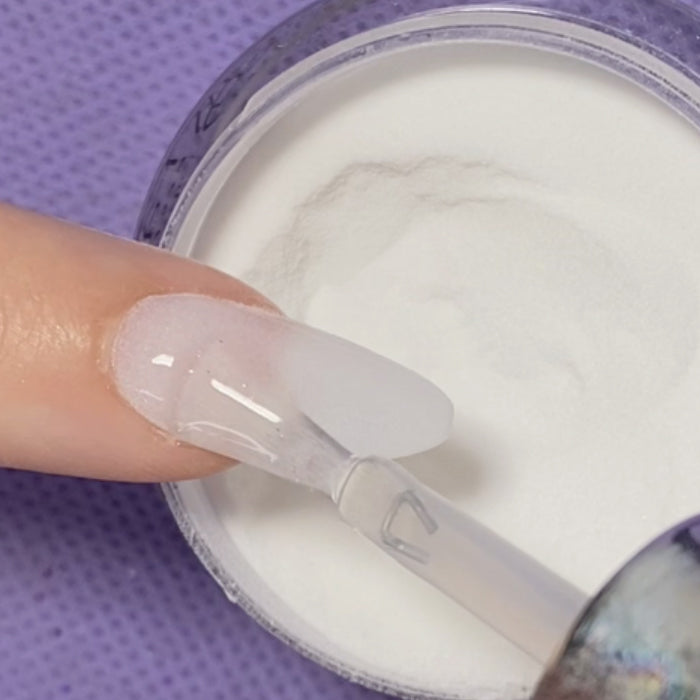
- Dehydrate the nail. Apply a thin layer of nail dehydrator to each of your nails, making sure to apply to the entire nail bed. It is crucial that you don’t accidentally apply this to your cuticle or skin since moisture is important in those areas. If you have shaky hands like I do, I recommend resting your working hand on a table or other surface while you paint. Take your time with this if you need to! It’s not a race. Make sure that you’re using Fairy Glamor’s nail dehydrator (and other liquids) with our acrylic powders. Our powders are specifically formulated for use with our nail liquids, and we can’t guarantee that our powders will always work with other brands’ liquids. Check out our Dip Starter Kit!
Apply Acrylic Nicely
Improper bead placement or preparation just causes bumpy, cloudy, unsightly nails.
Here’s what you’ll need
- Monomer liquid
- Acrylic nail brush, various sizes available
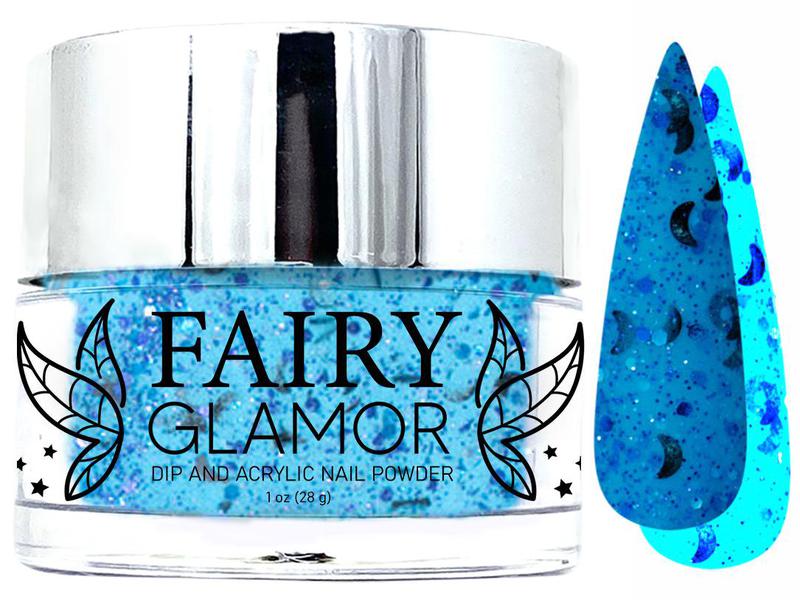
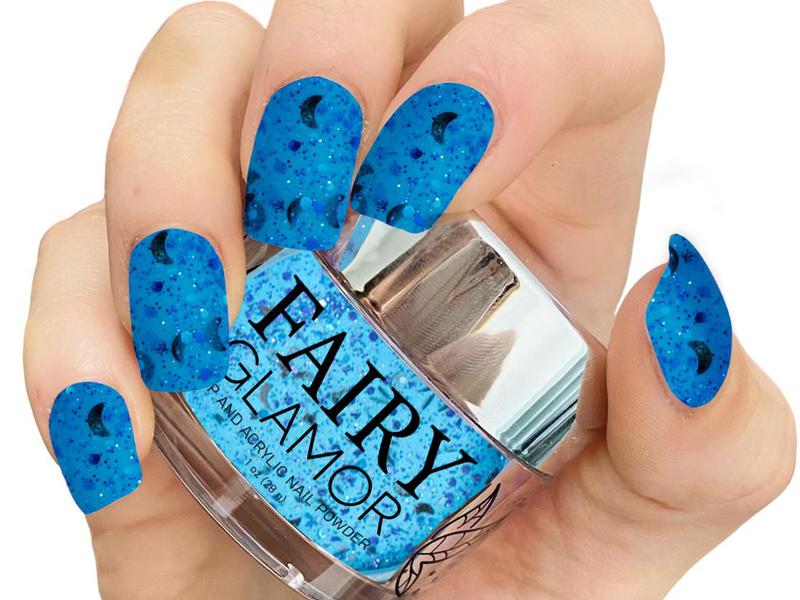
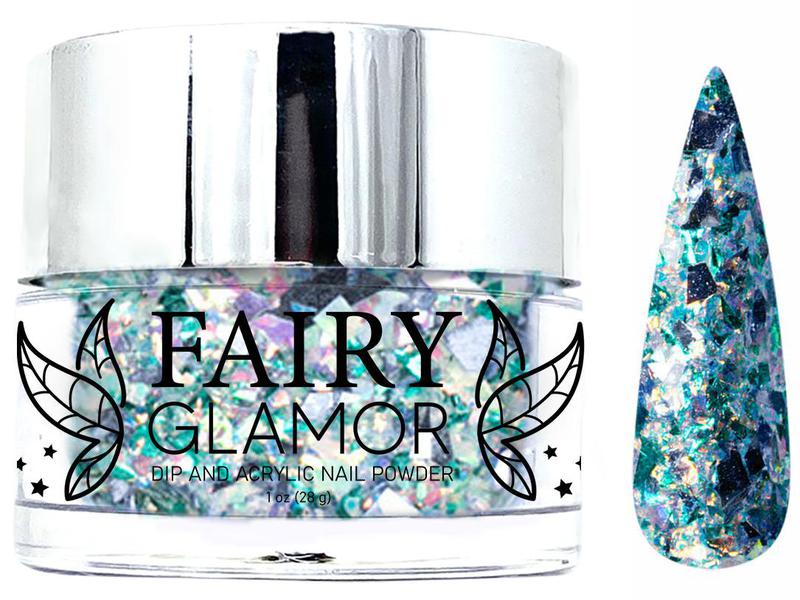
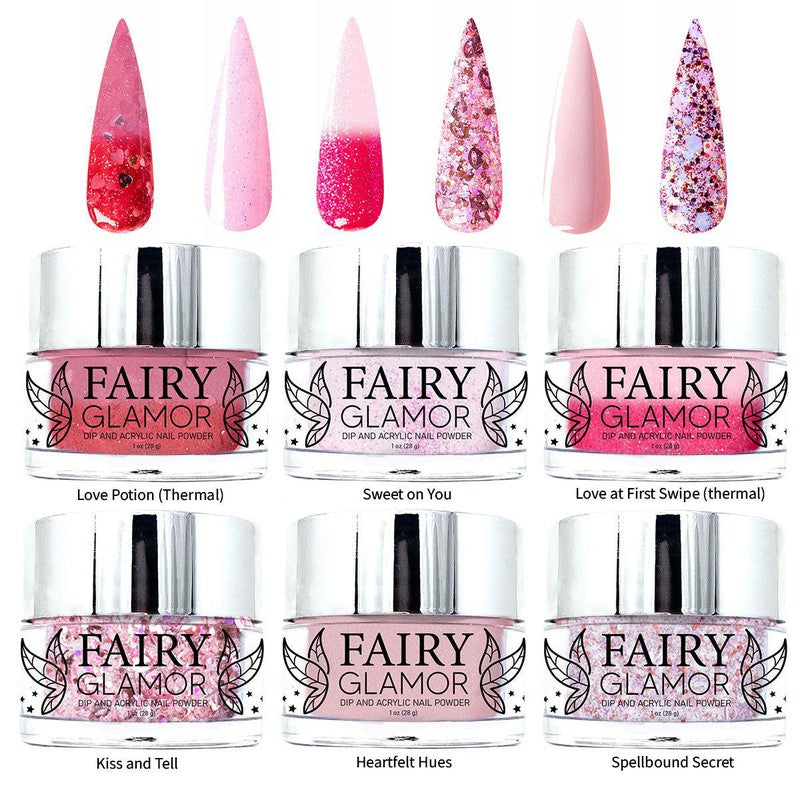
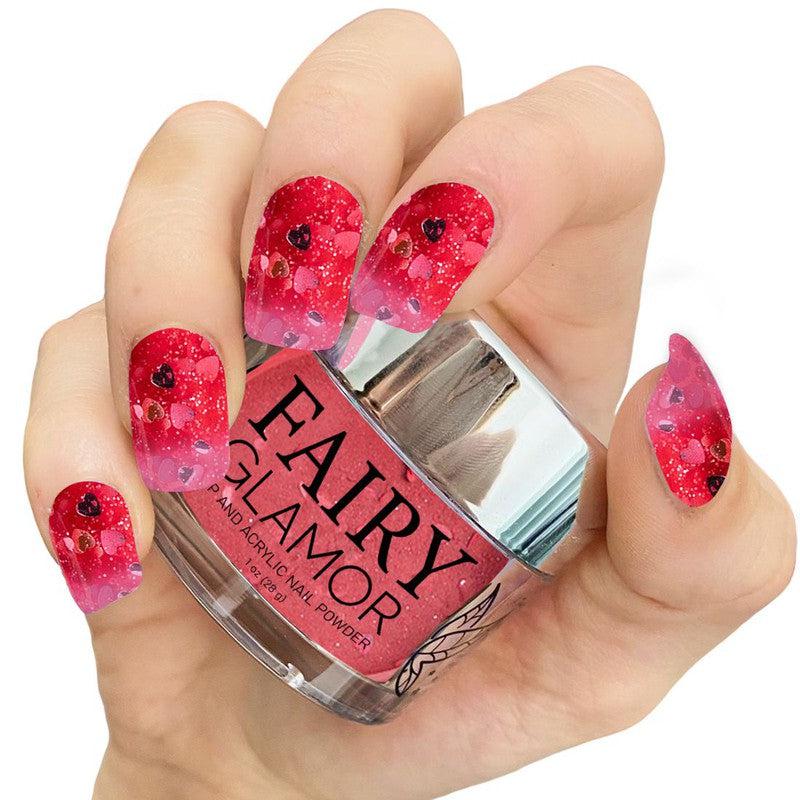
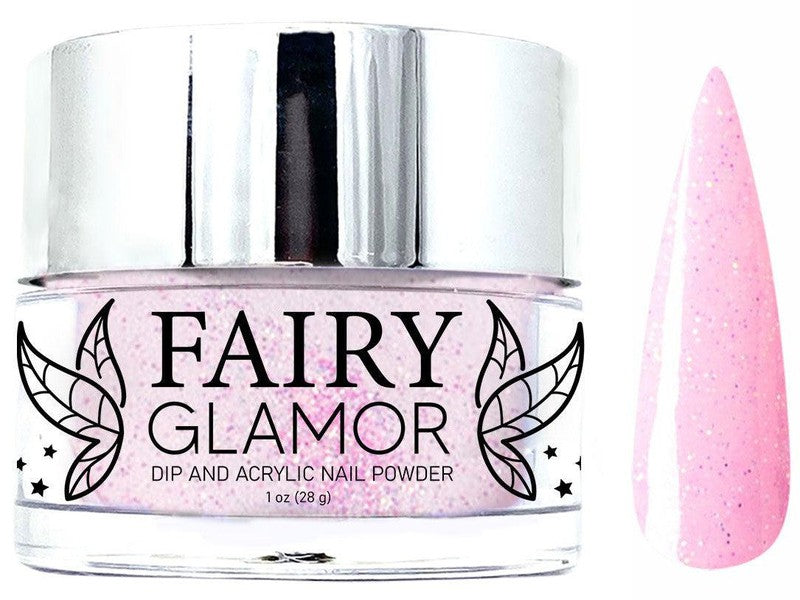
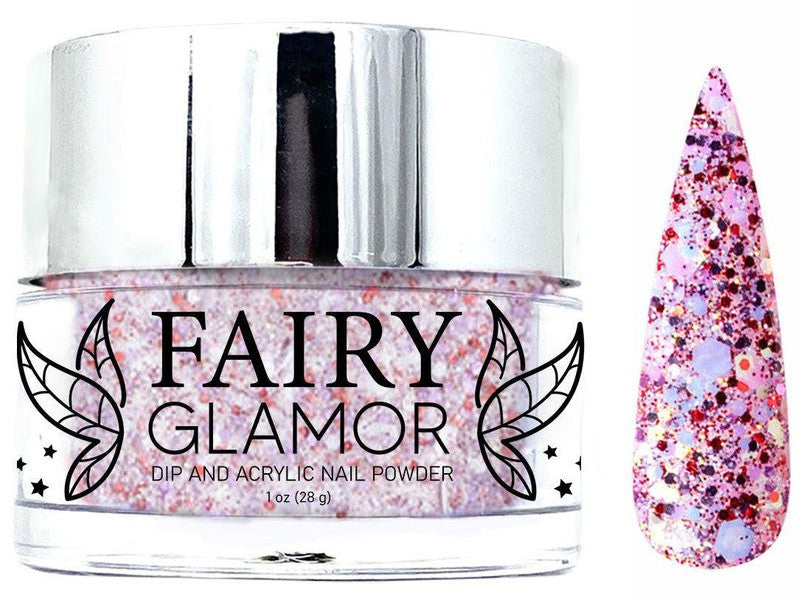
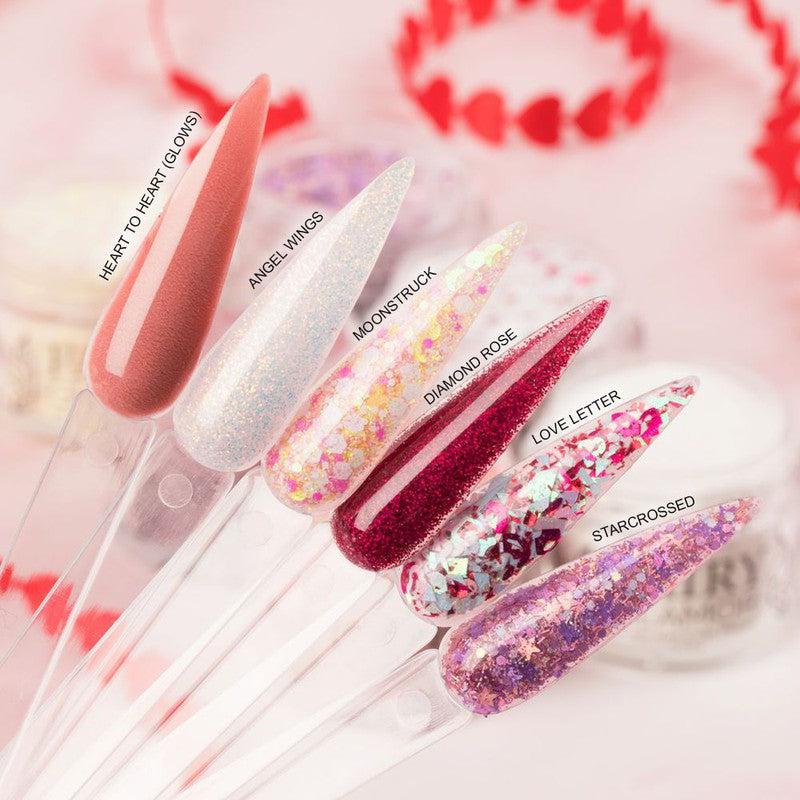
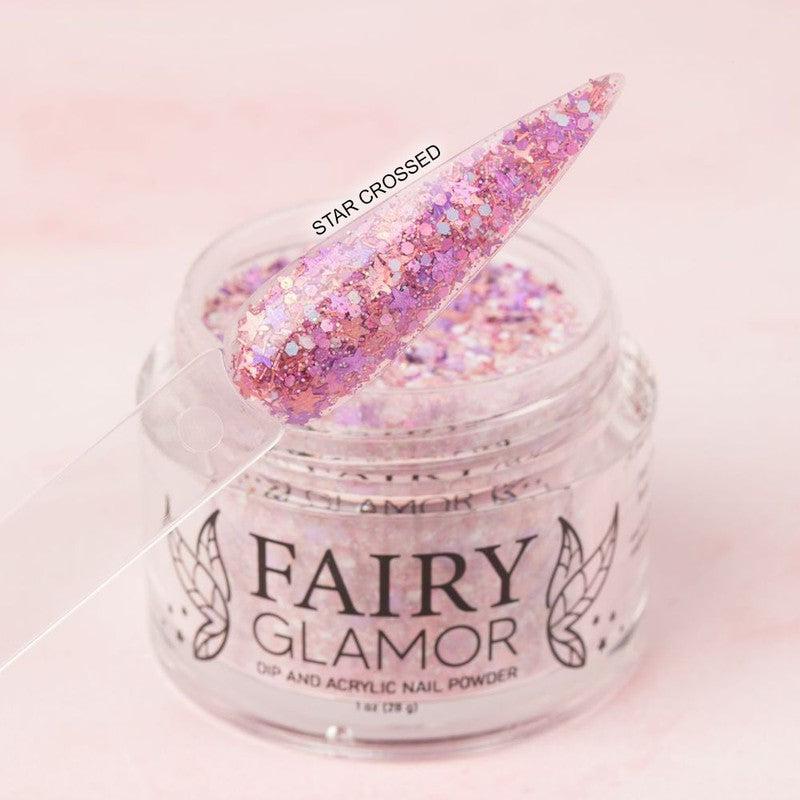
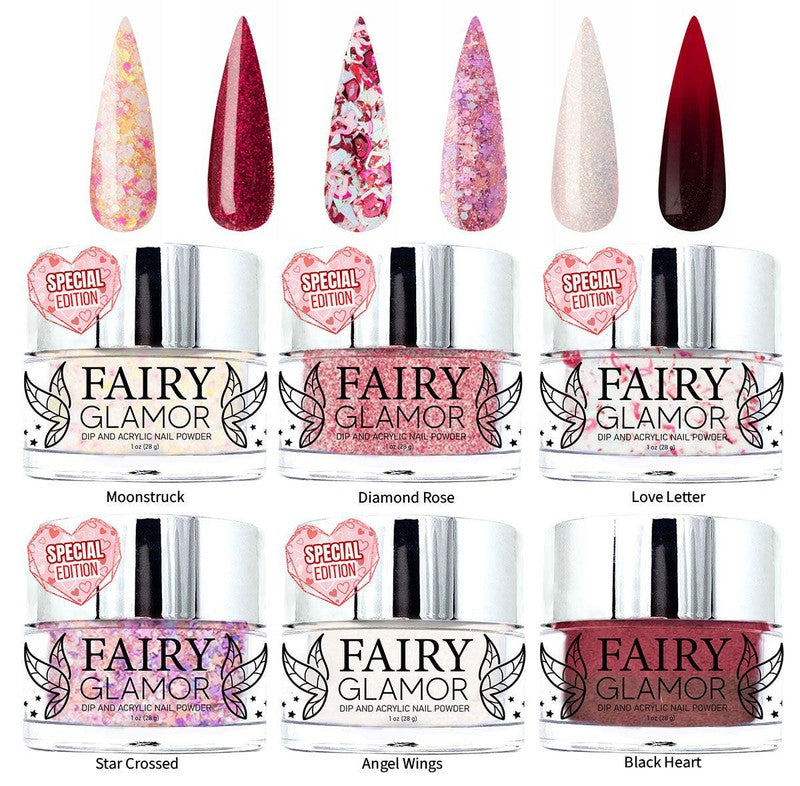
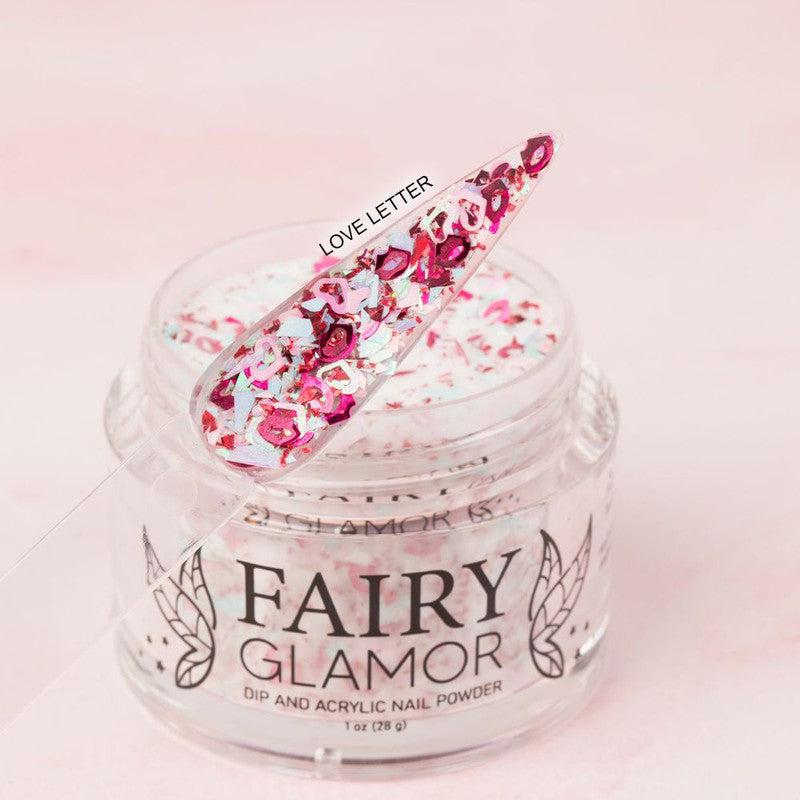
- Acrylic Powder (be sure to use ours; click here to view our catalog)
- Glass cup to hold monomer liquid
- Nail file
- Manicure tools, like clippers
- Nail extensions (optional)
- Nail art, like stickers (optional)
Steps:
- Prep nails as explained above
- Get your brush, monomer, and powder ready
- Dip your brush in the monomer; just the tip of the brush. Don’t submerge the entire brush in the liquid as it can ruin the brush
- Gently dip your brush in the powder at a 45 degree angle to form a bead; don’t cover the entire brush in acrylic, just the tip
- Place the bead at the apex of your nail and gently press the top of the bead to flatten it around your cuticle area, being sure to not go over the cuticle
- Swipe the bead downwards to the middle of the nail, working quickly. Acrylic dries fast
- Pick up another bead of powder and place it in the center of your nail
- Sculpt the second bead of powder down to cover your entire nail
- Wait around 1 minute for the powder to dry completely
- Buff the nail into shape as desired and then seal with a top coat
Applying acrylic takes a lot of practice. It might even take you 20+ attempts to get the shape you want. You need to have a lot of patience when working with acrylic (and work quickly at the same time), but once you have the steps and technique down, it becomes muscle memory!.
Use a High-Quality Top Coat
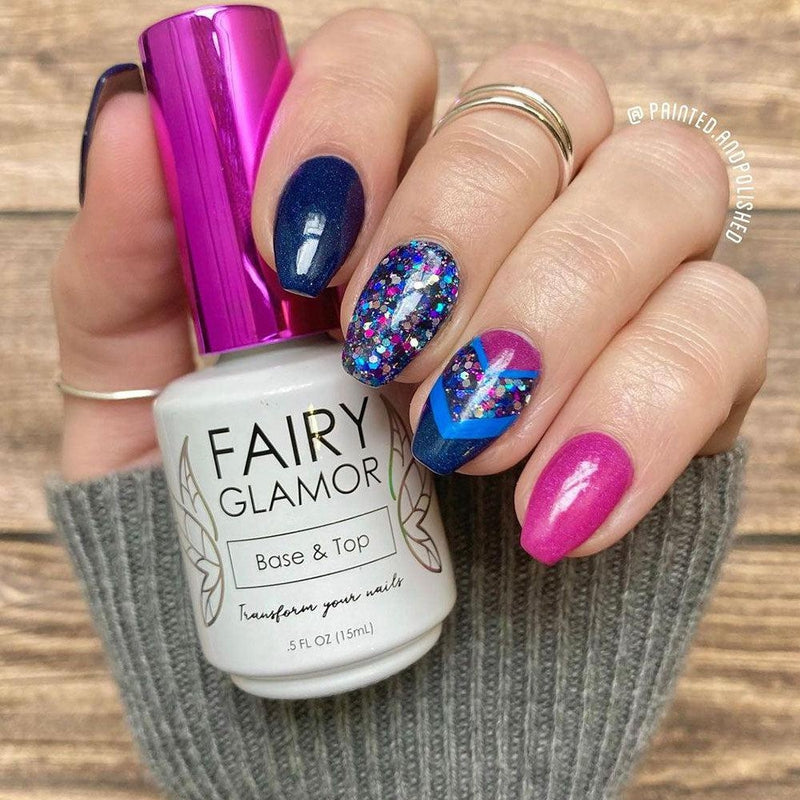
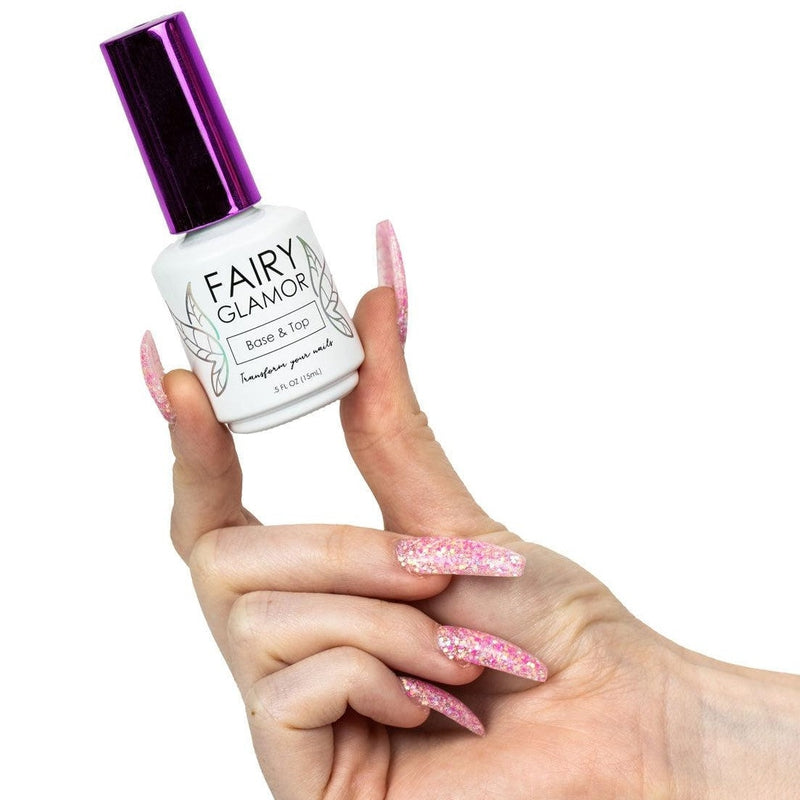
Top coat is what makes or breaks your whole application process; you could have perfect beads and perfectly laid acrylic, but failing to use a top coat (or not using one at all) reduces the shine drastically, and your manicure will last a significantly shorter amount of time.
Use our Dip Starter Kit’s top coat for best results.
More Top Coat!
The more top coat, the better! Applying 2-3 layers of top coat will help you add shine to your dull nails. However, make sure to pay attention to the thickness of your nails; you don’t want a tower of polish. Also, make sure that your top coat brush is clean before sticking it back into the bottle.
Here’s a Quick Recap:
- Keep your brushes, tools, powders, and liquids separated; if something happens to accidentally touch, wipe the brush off before sticking it back into a pot or bottle
- Mix up your acrylic powder before using it
- Take your time with nail prep
- Steady your hands so you don’t get acrylic all over your fingers and cuticles
- Wait for the acrylic to dry completely before putting top coat on
- Apply 2 layers of top coat