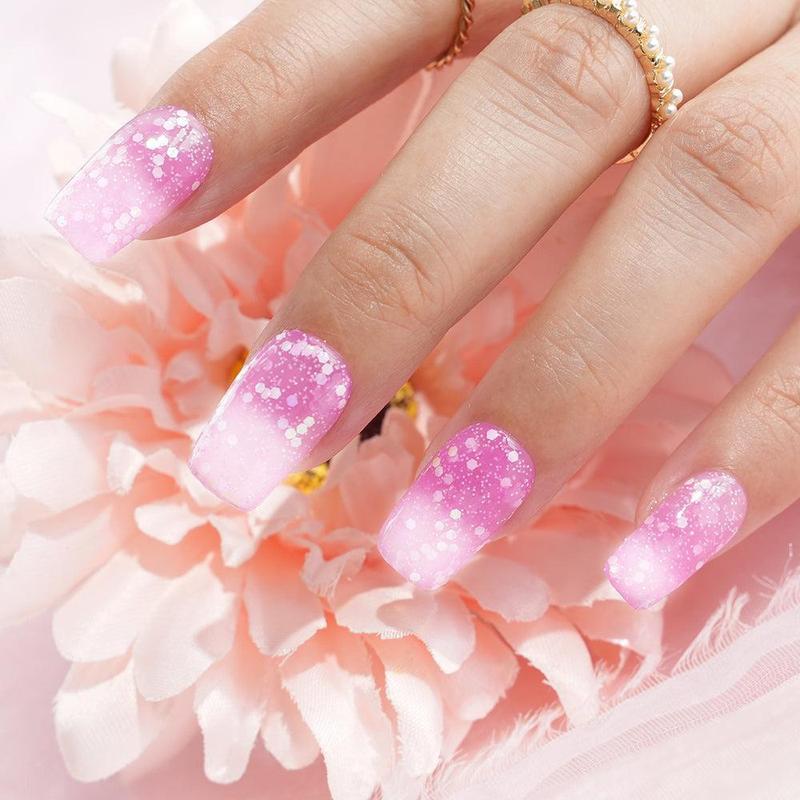

If you’re experimenting with various kinds of acrylic nail brushes, you might want to try something a little different. There are a few different shapes of brushes, the most common being round. However, oval brushes can be better for laying wider beads of acrylic. Can you turn a round acrylic brush into an oval one?
What is an Acrylic Nail Brush?
The brush is one of the most important tools when it comes to building acrylic nails. Whether you’re a professional nail tech or a DIY beginner, you’ll be using a special brush to create your acrylic nails.
These brushes come in a few different shapes. Let’s go over each one and see what they’re used for.
Round
Round acrylic brushes are the most popular and are probably the best for a beginner. If you’ve purchased an acrylic starter set, the chances are that you’ll receive a round brush.
Round brushes are great for precision because they come to a point at the tip of the bristles. Most beginners choose a round brush because it is easier to maneuver the acrylic than with a flatter one. This shape is also great for precise nail art, such as creating little flowers or other designs.
Flat
A flat acrylic brush is pretty much the opposite of a round one. The bracket that holds the bristles in place is completely pressed to create a flat bristle arrangement. Flat brushes are rarely used because they are not easy to work with, and it is hard to do nail art with them. Some professionals choose to use a flat nail brush for one bead acrylic nails or for long strokes across the length of the nail.
Oval
The most commonly used professional brush is the oval shape. Oval acrylic brushes are in between the round and flat brushes and are the best of both worlds. They are round enough to give some extra precision to placing a bead but flat enough that it is efficient to create long nails with.
Is it possible to turn a round brush into an oval one? Probably! Depending on the kind of brush that you’re using, it’s more than likely possible to create an oval shape instead of a round one.
How can I Turn My Round Brush into an Oval?
The process of crimping, also known as pinching, is basically changing the shape of a brush. There are two ways to do this; one is permanent, and the other is temporary. We recommend using a medium-sized acrylic brush (#10 is pretty appropriate) rather than a larger or smaller brush for the permanent method. Read our guide on finding the best acrylic brush size for you.
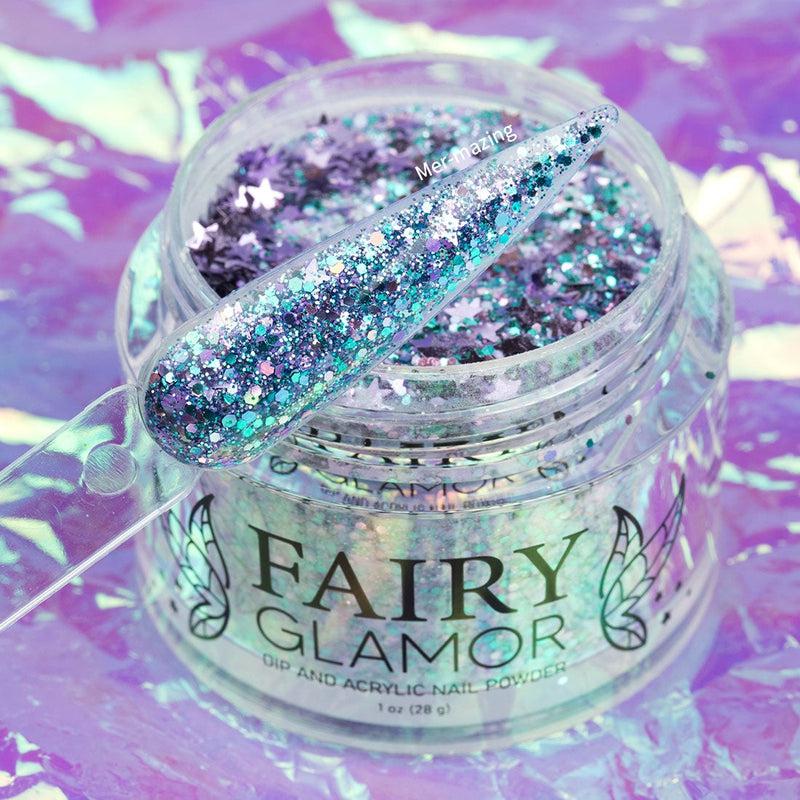
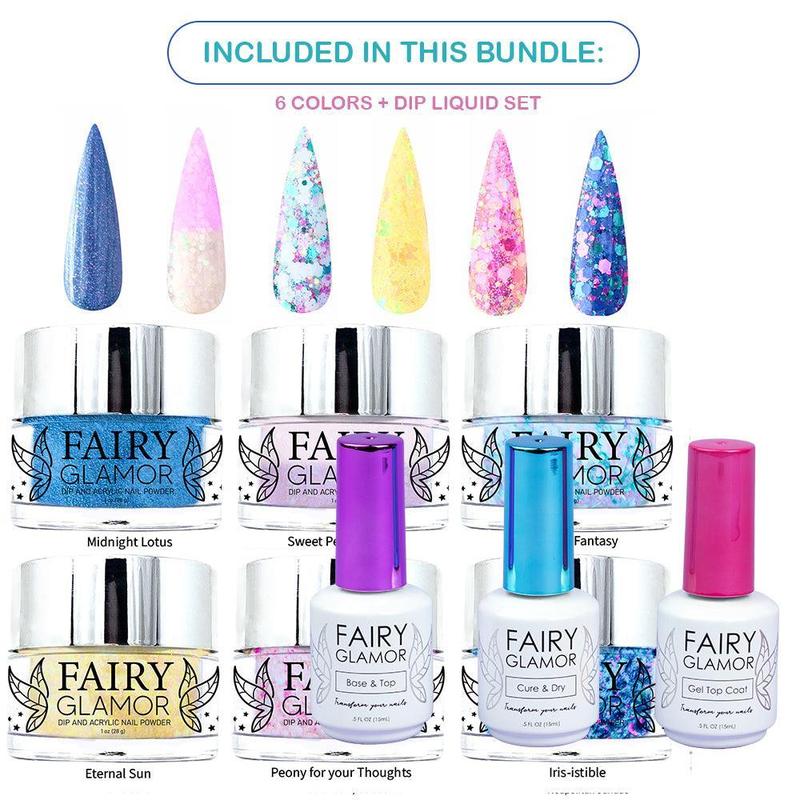
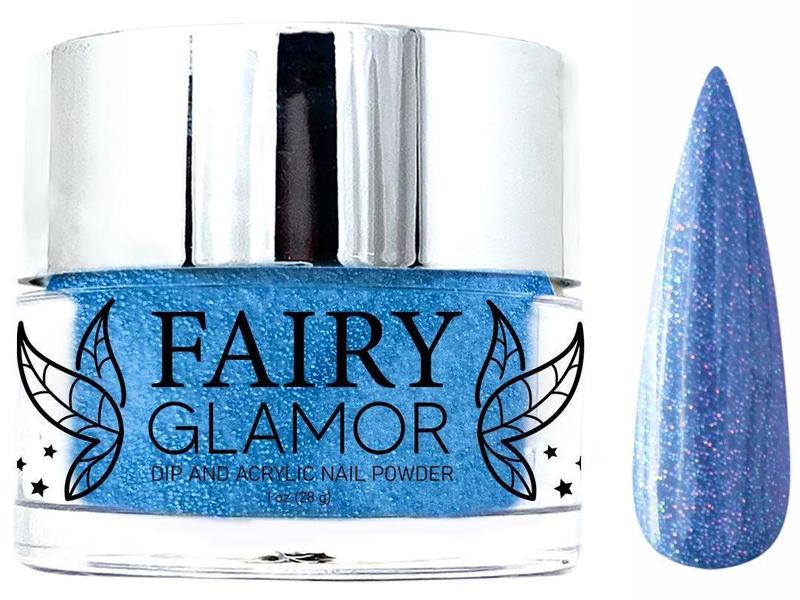
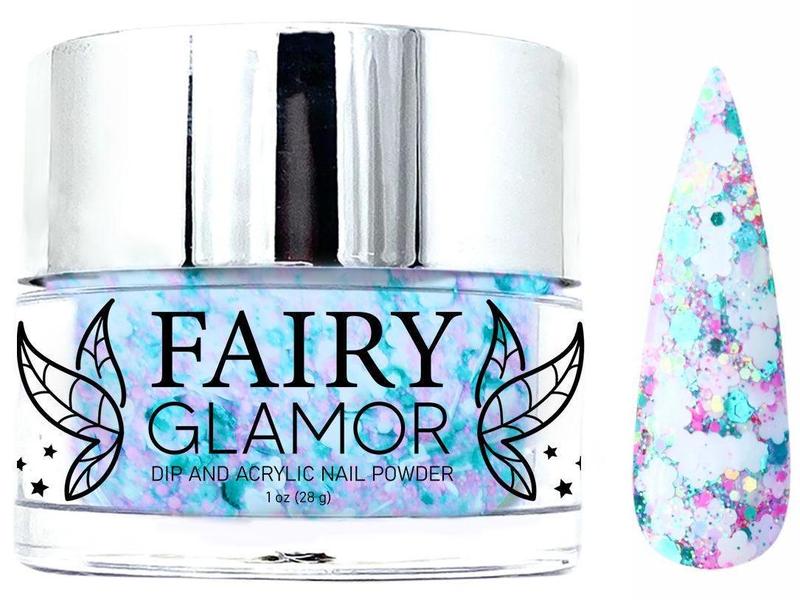
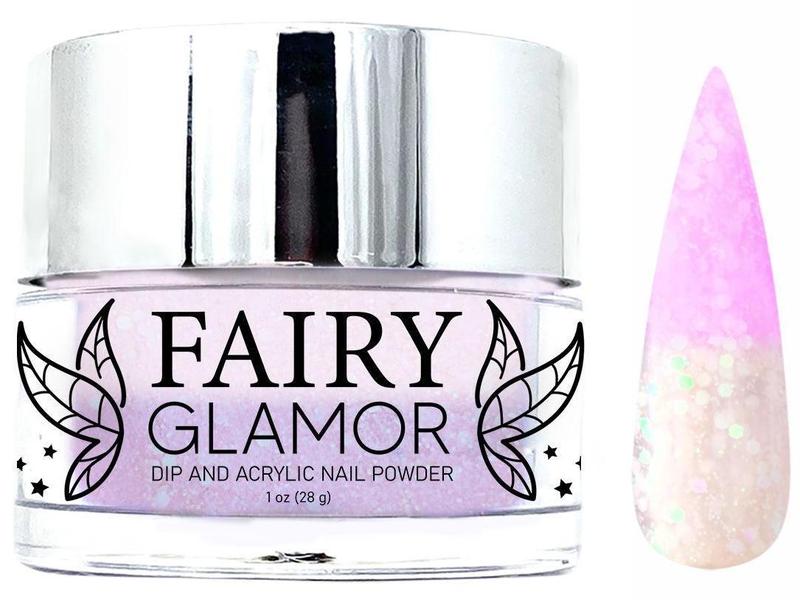
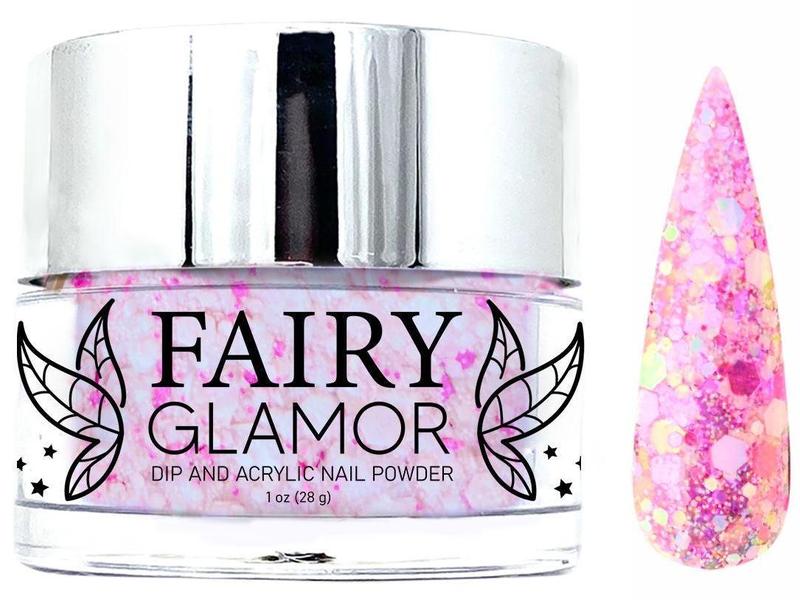
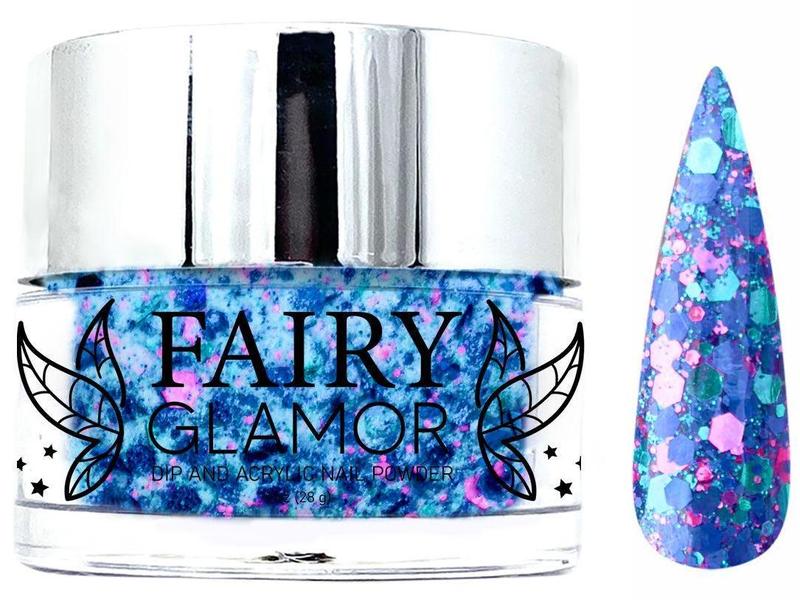
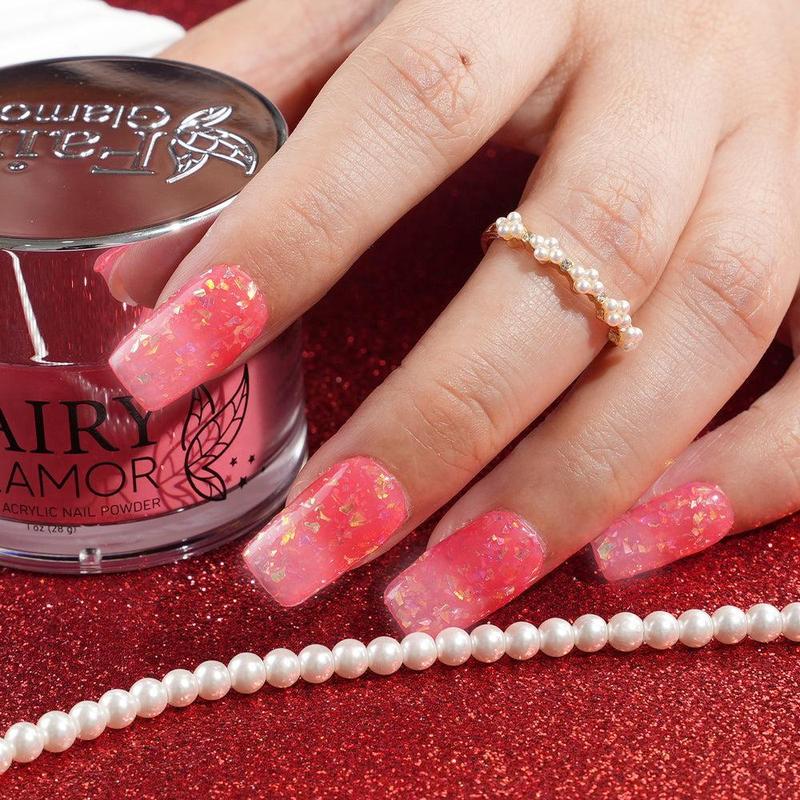
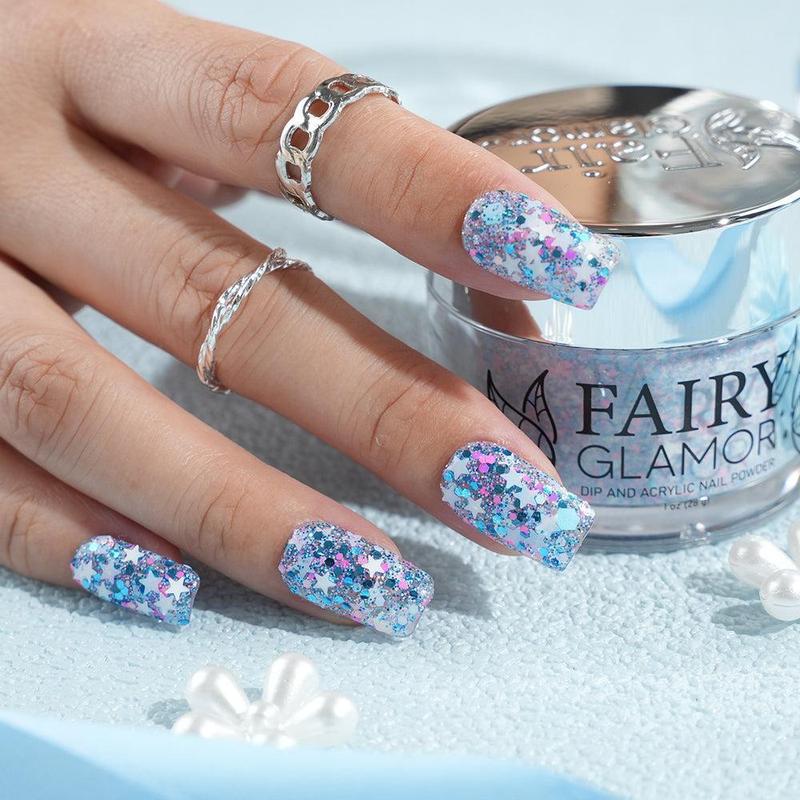
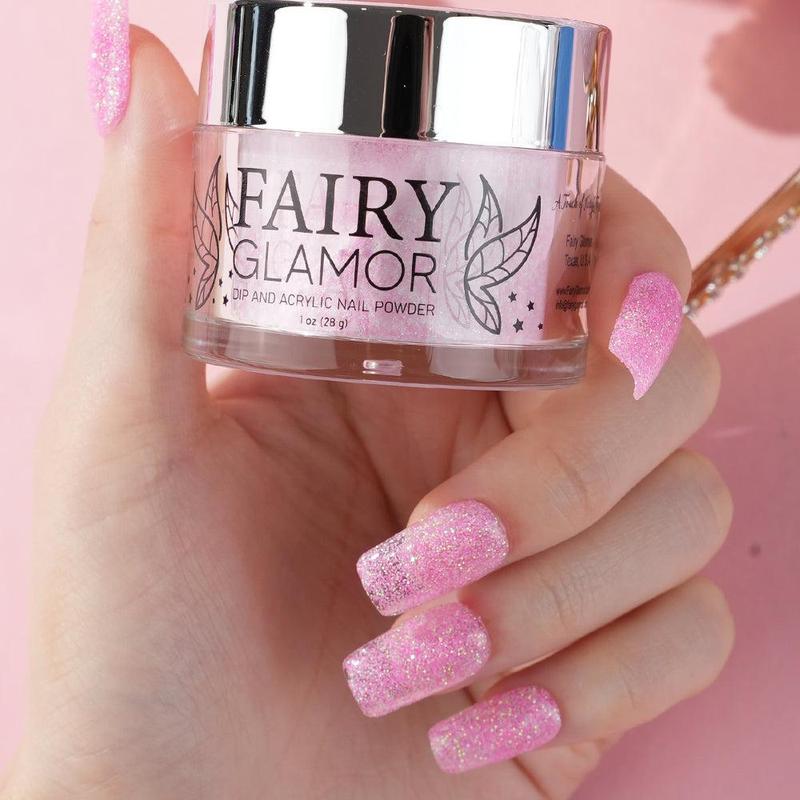
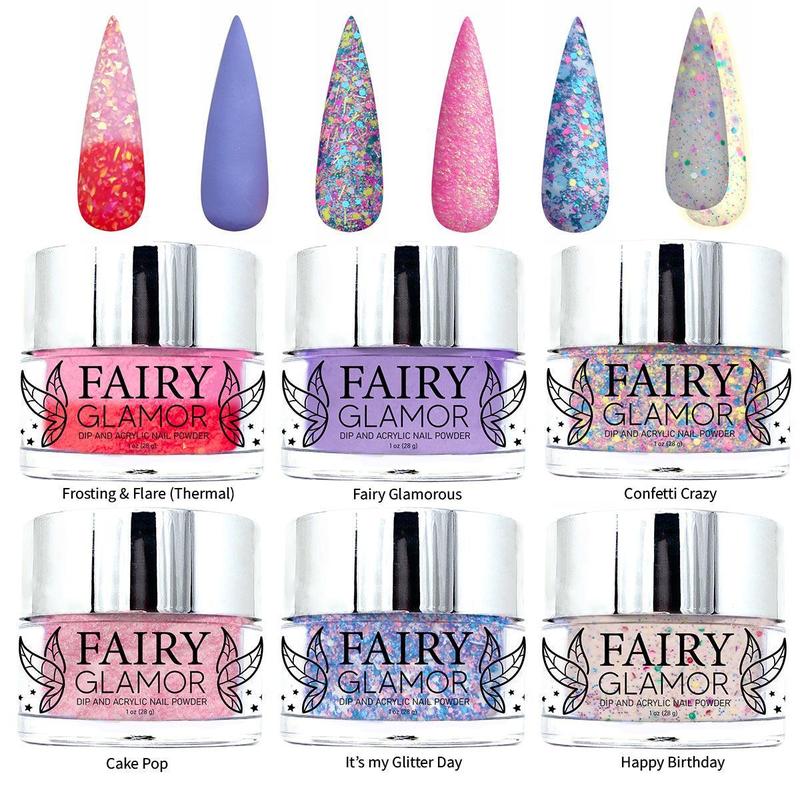
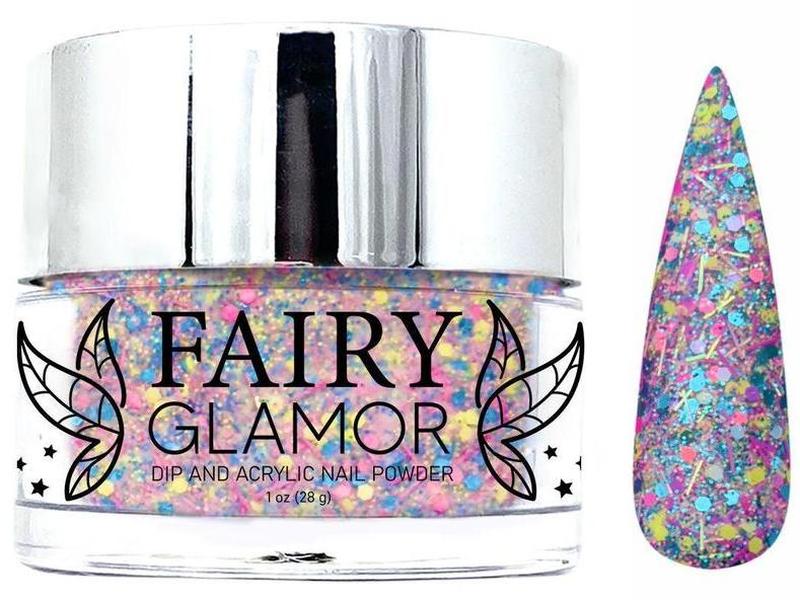
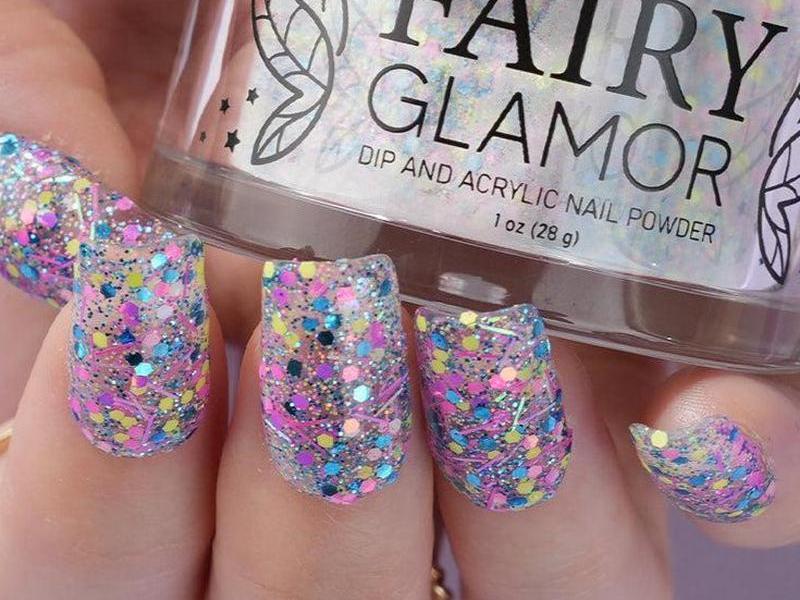
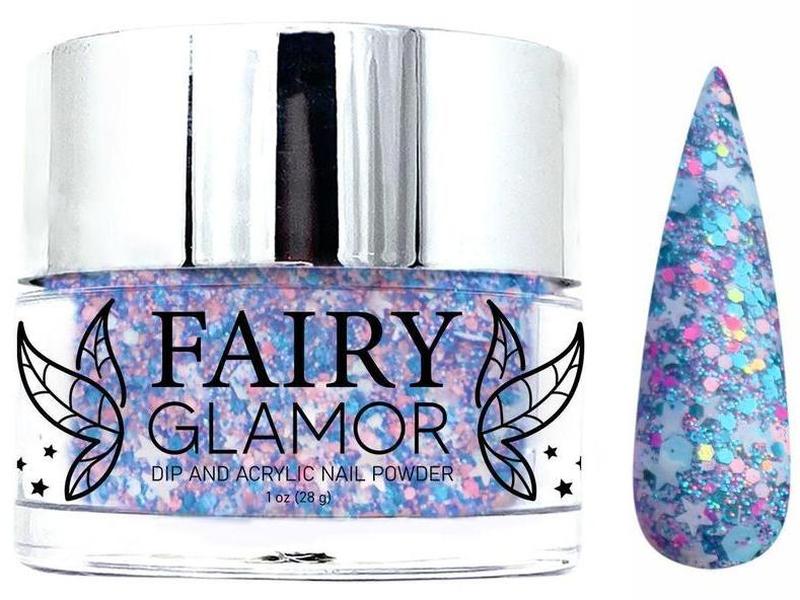
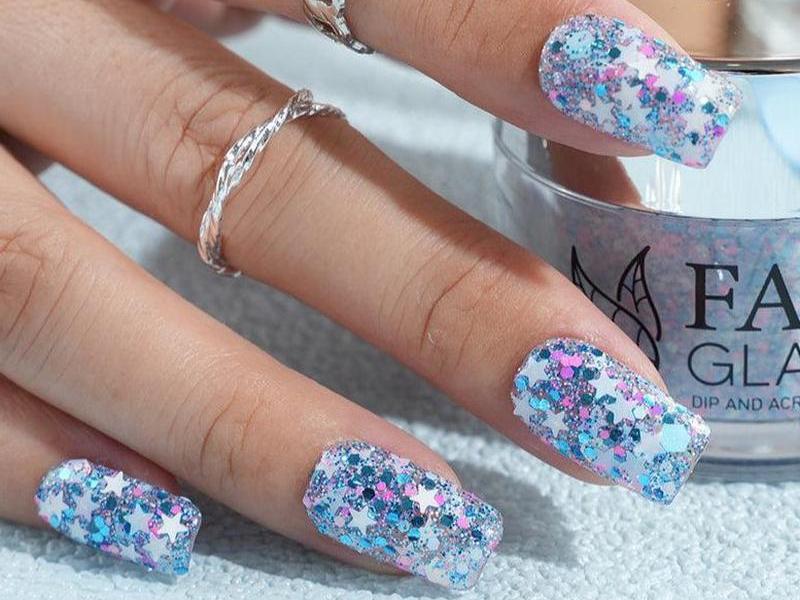
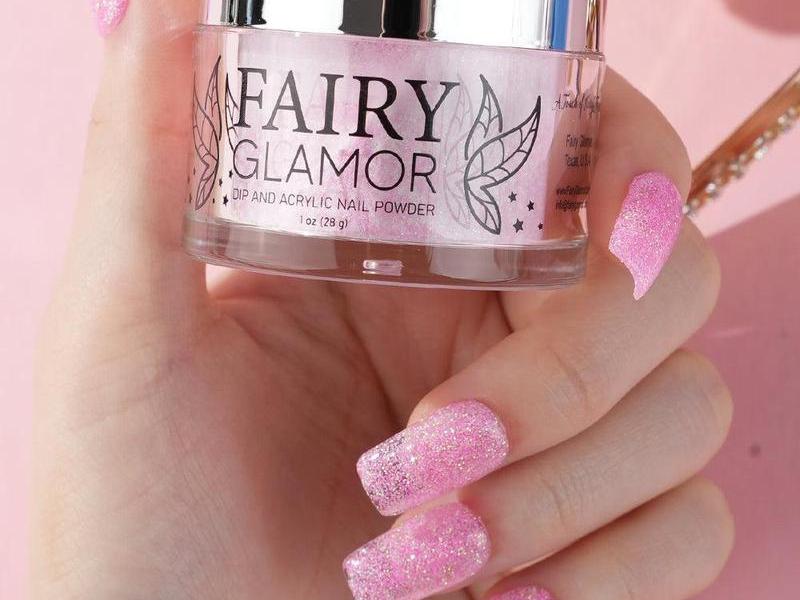
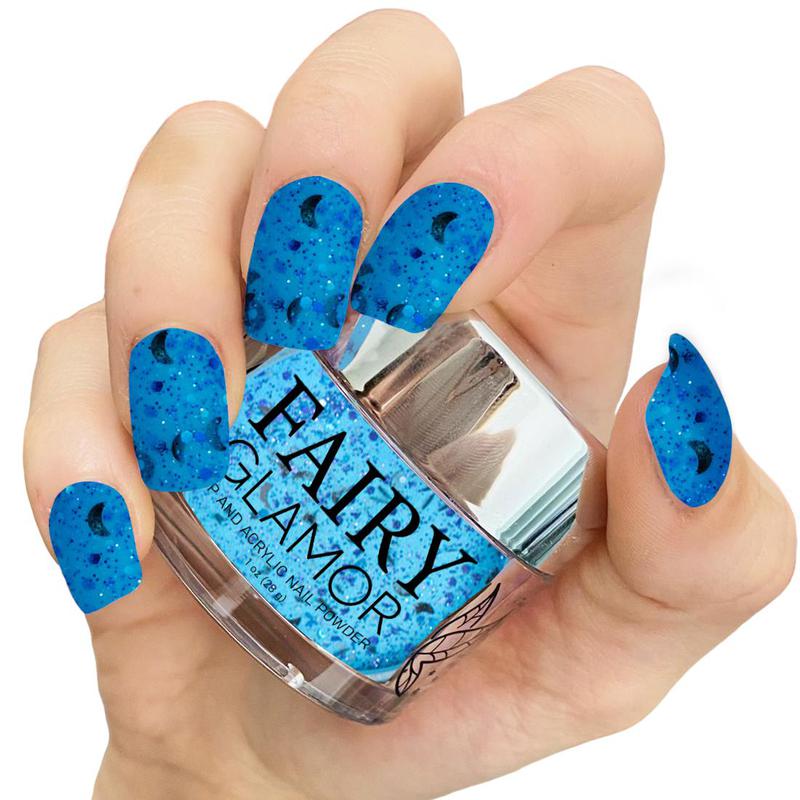
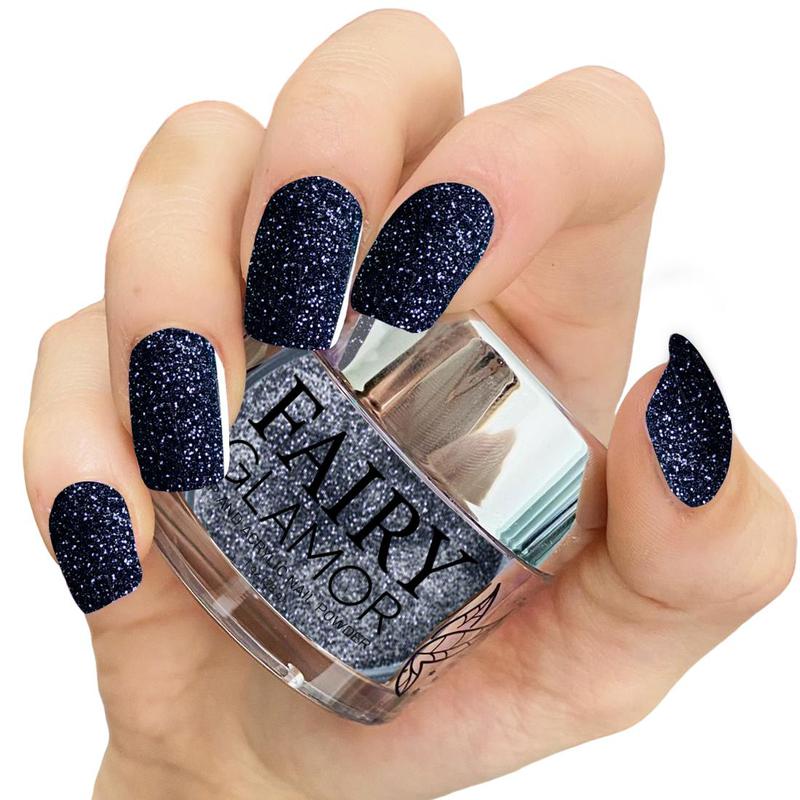
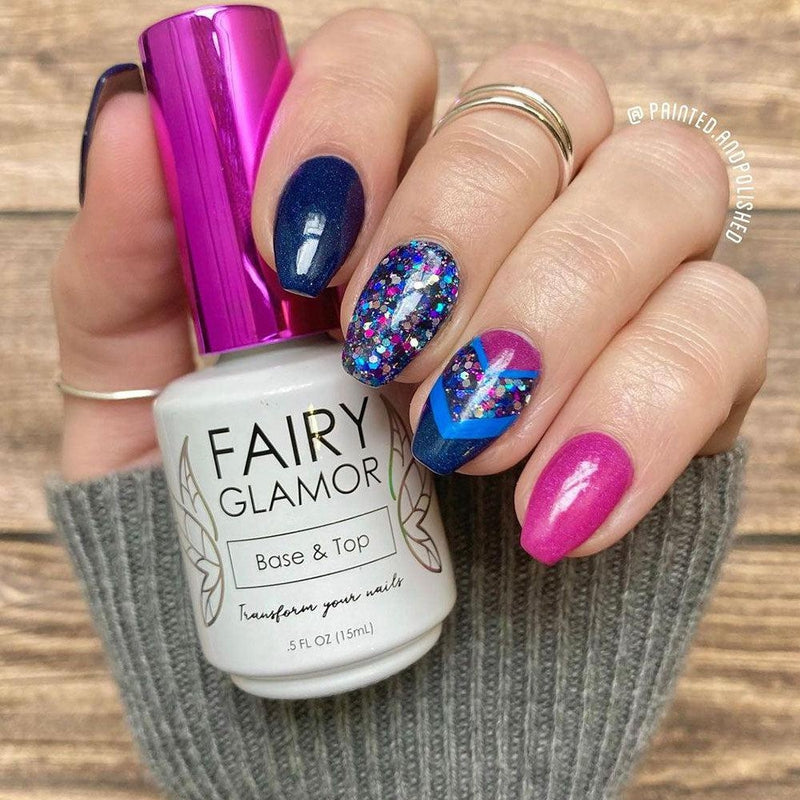
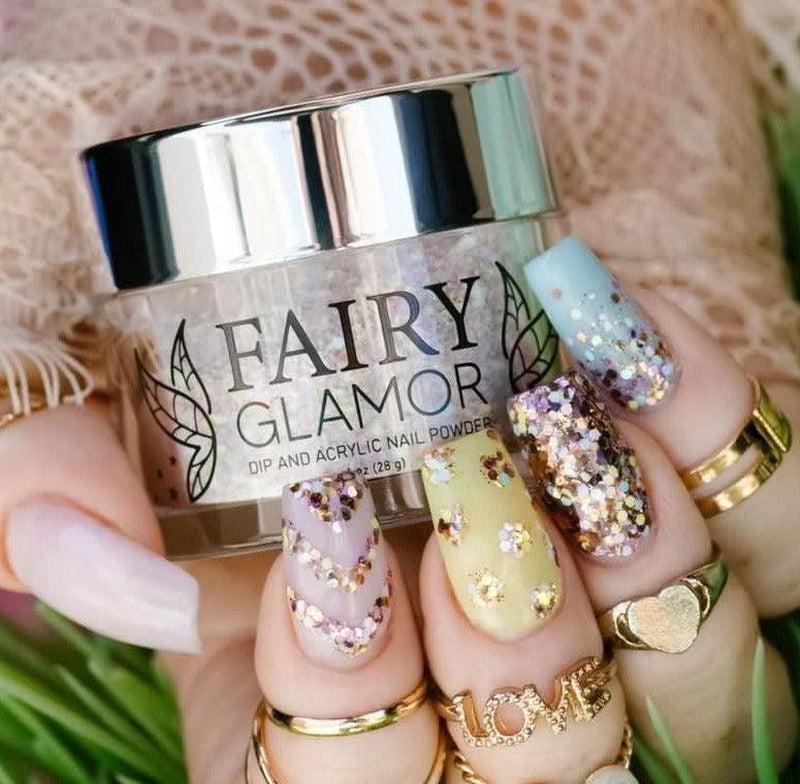
You can find a high-quality #10 acrylic brush on our Fairy Glamor page.
Temporary Method
Here’s what you’ll need:
- Clean round acrylic brush
- Fingers
Steps:
- Make sure that your acrylic brush is clean. A dirty brush will not keep a shape.
- Gently pinch the bristles of the brush between your index finger and thumb to make it a little flatter.
- That’s it! Keep in mind that this is very temporary, and you may have to repeat the process throughout your manicure if the brush begins to turn round again.
Permanent Method

Here's what you'll need:
- Clean round acrylic brush
- Pliers
Steps:
- Ensure that the brush is clean and there are no bits of acrylic stuck in between the bristles.
- Take your pliers (needlenose work best) and position them on the point of the ferrule just above where the bristles begin.
- Gently pinch the pliers to flatten the bristles.
- Repeat step 3 until you have your desired shape.
Remember that this method is PERMANENT! You will not be able to un-pinch the bristles. Do not try this method on an artisan-quality handmade brush; those brushes are very special, and each hair has been hand-placed. Sometimes squishing the ferrule will make the bristles fall out, and you don’t want that to happen to a brush worth hundreds (or even thousands) of dollars.
How do I Make my Acrylic Look Better?
Before going ahead and crimping all the brushes in your collection, you should try to see if there’s something else that’s causing your acrylic to turn out weird. Be patient with yourself! Acrylic can take a long time to get right for some people. There’s nothing wrong with a little trial and error.
Read our blog, "How to Get Smooth Acrylic Nails,” if your acrylic is just turning out too bumpy and not aesthetically pleasing.
Cloudy nails? View our “How to Make Your Acrylic Nails Shiny and Glossy” blog.
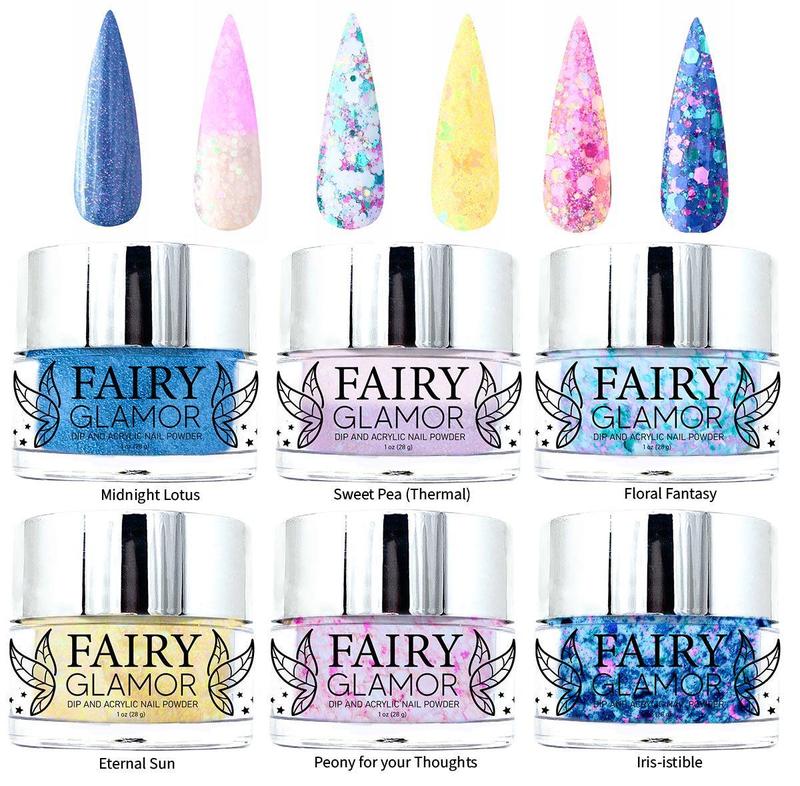
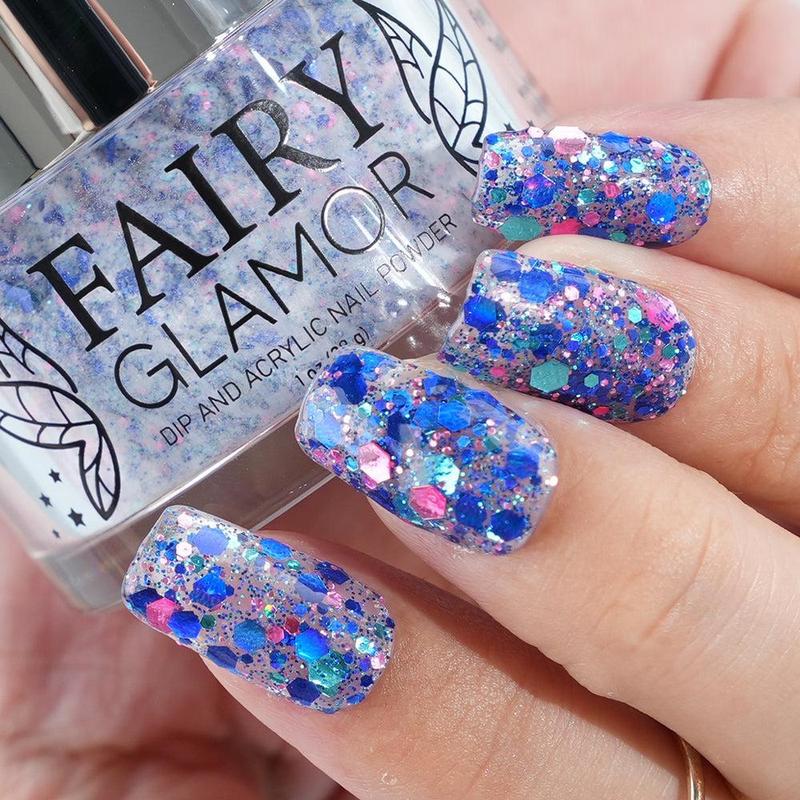
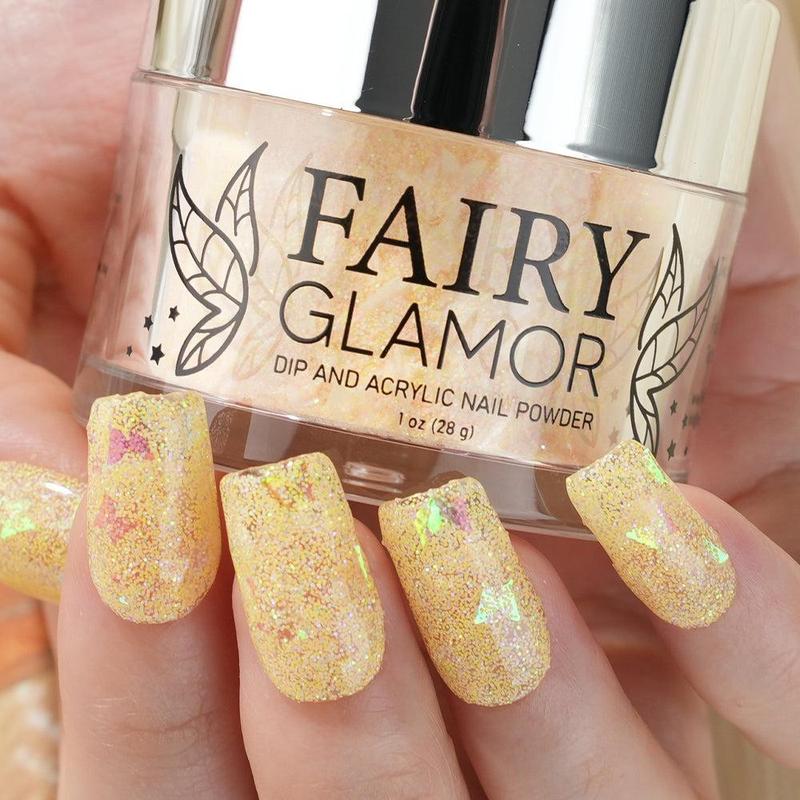
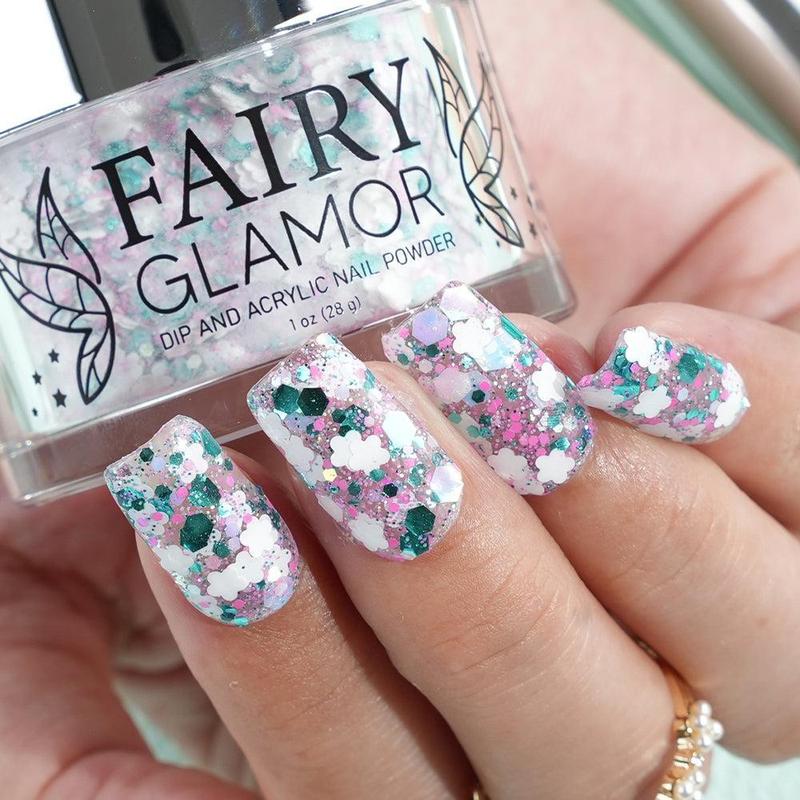
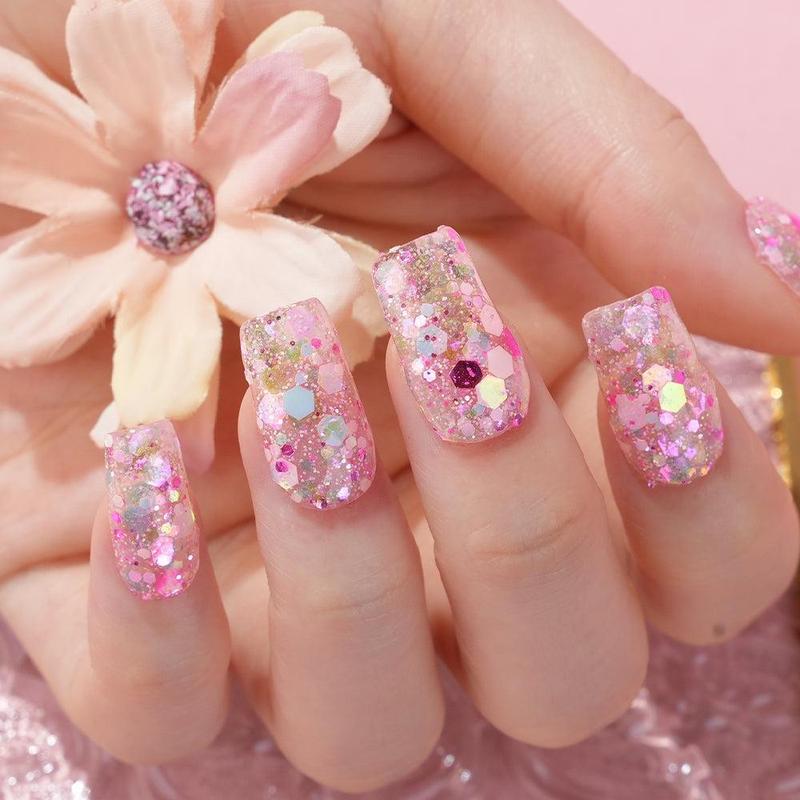
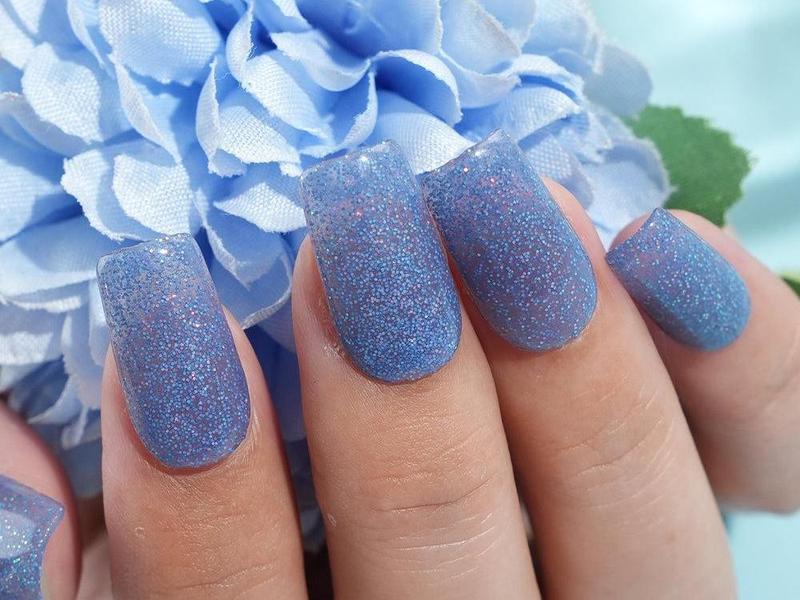
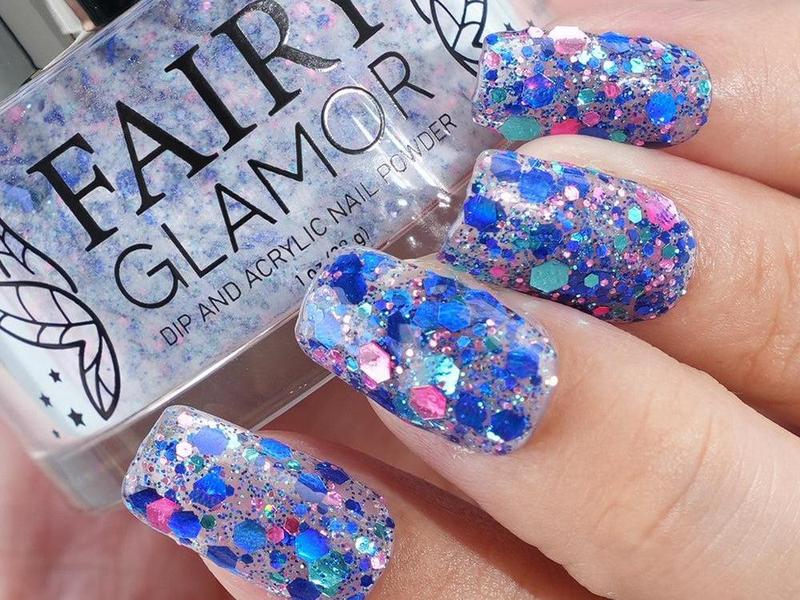
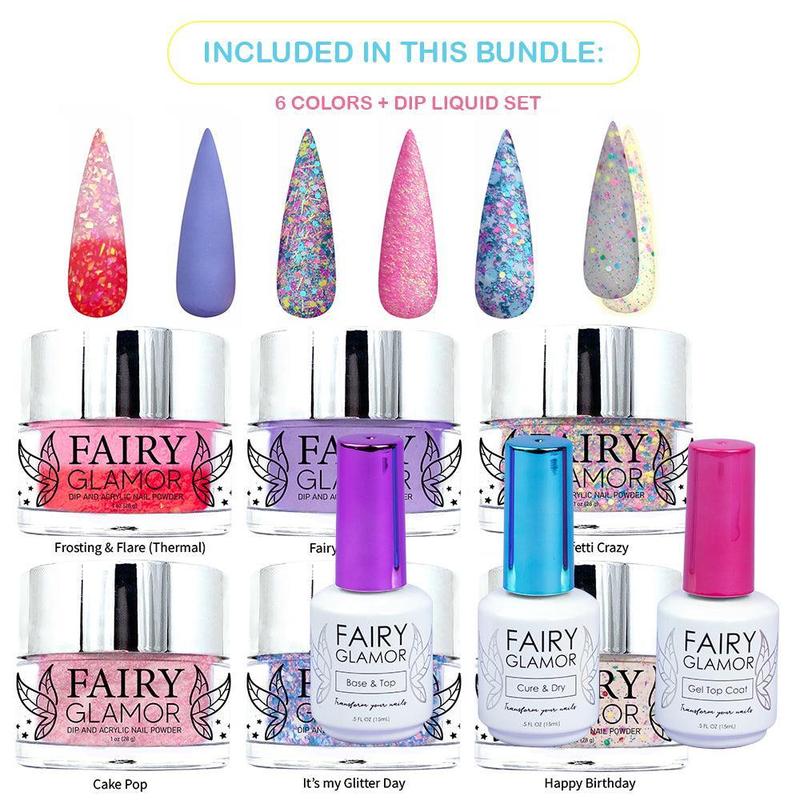
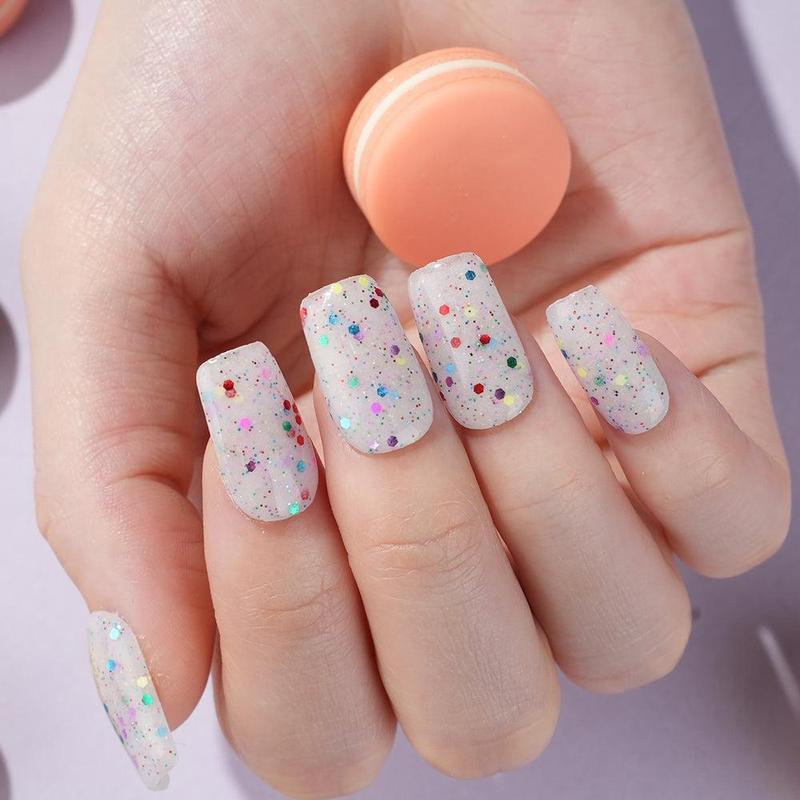
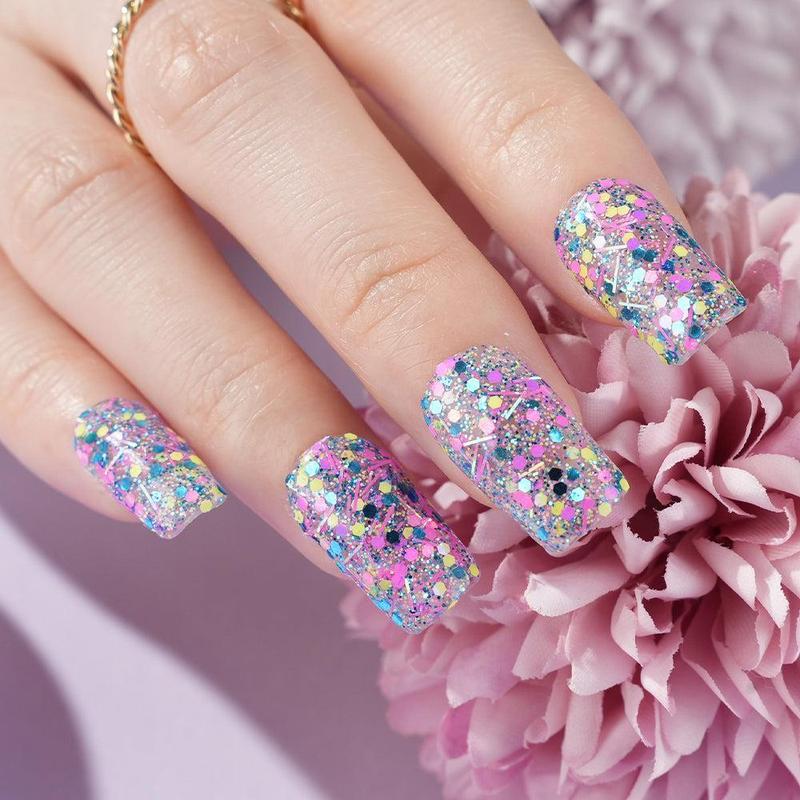
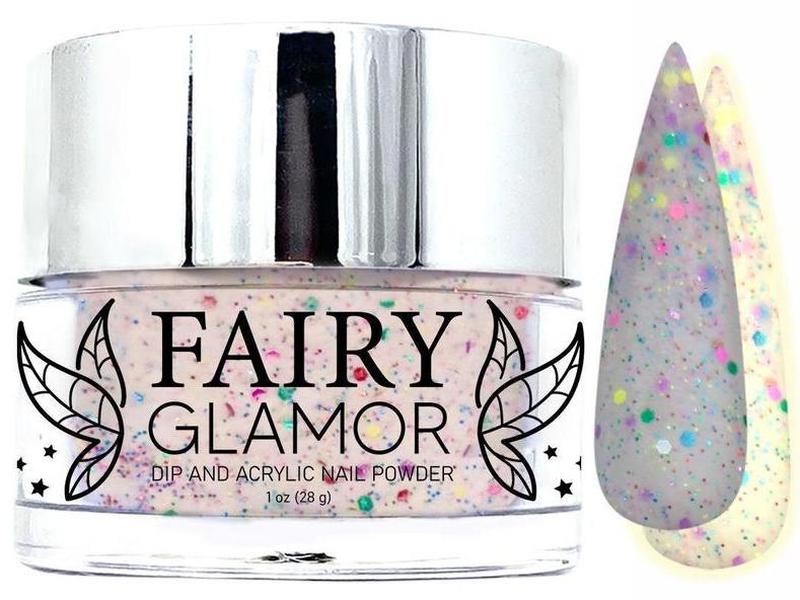
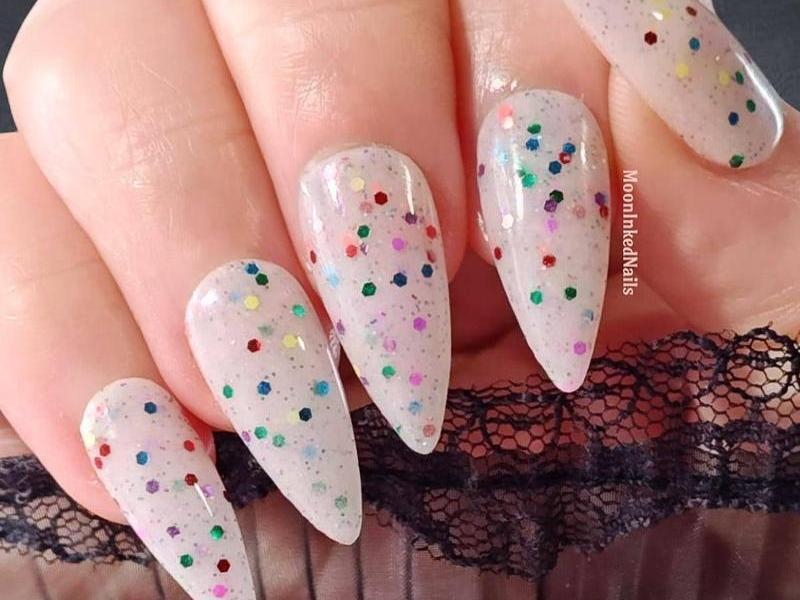
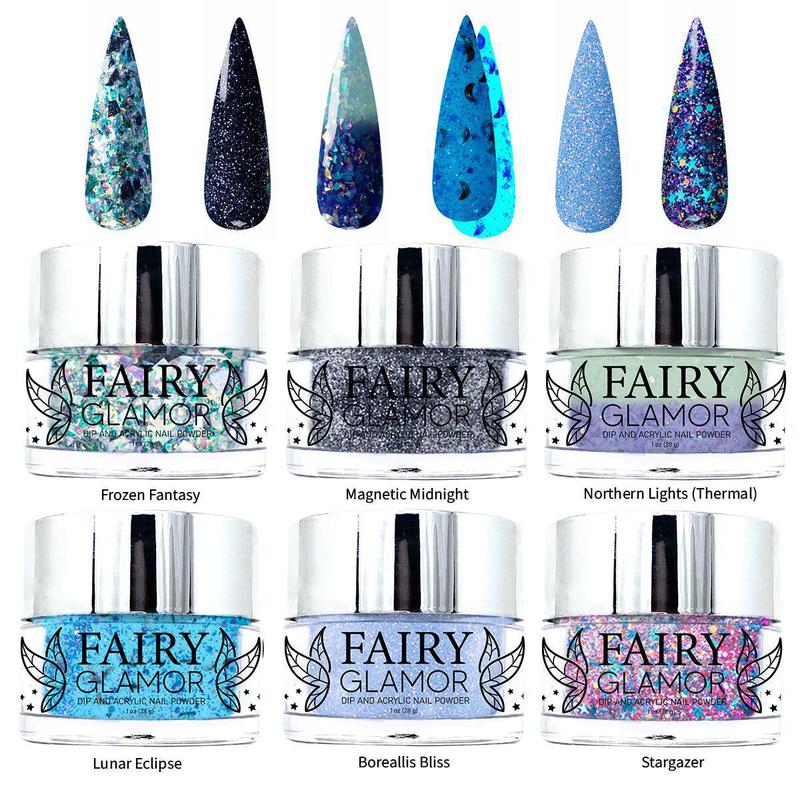
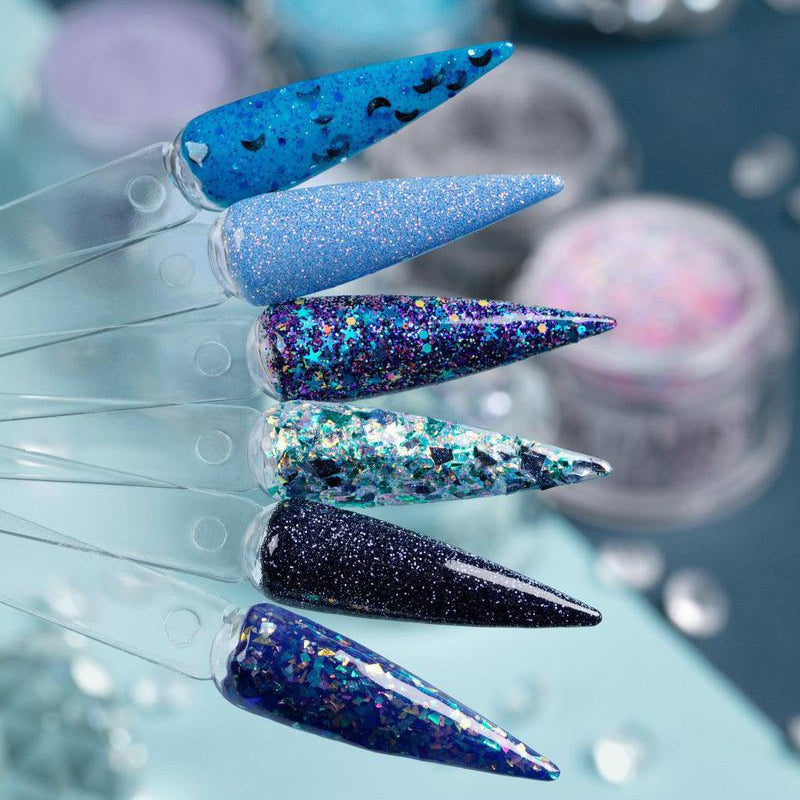
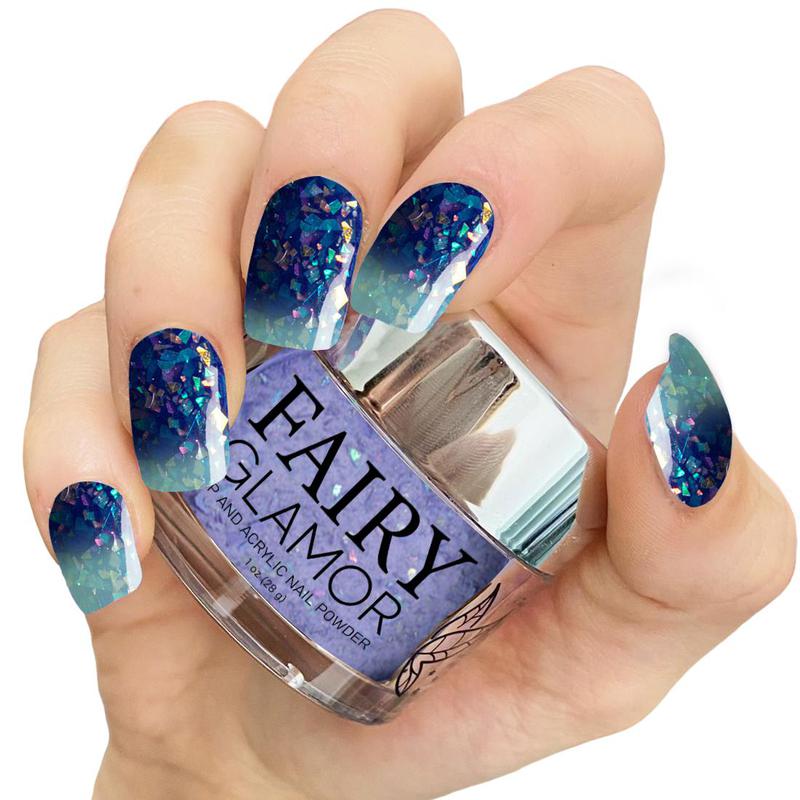
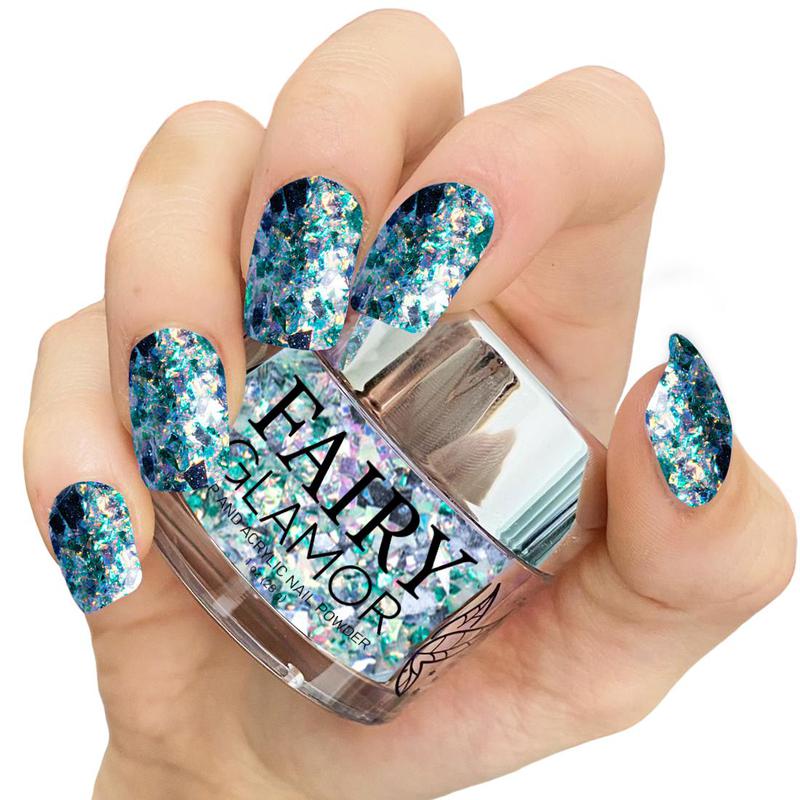
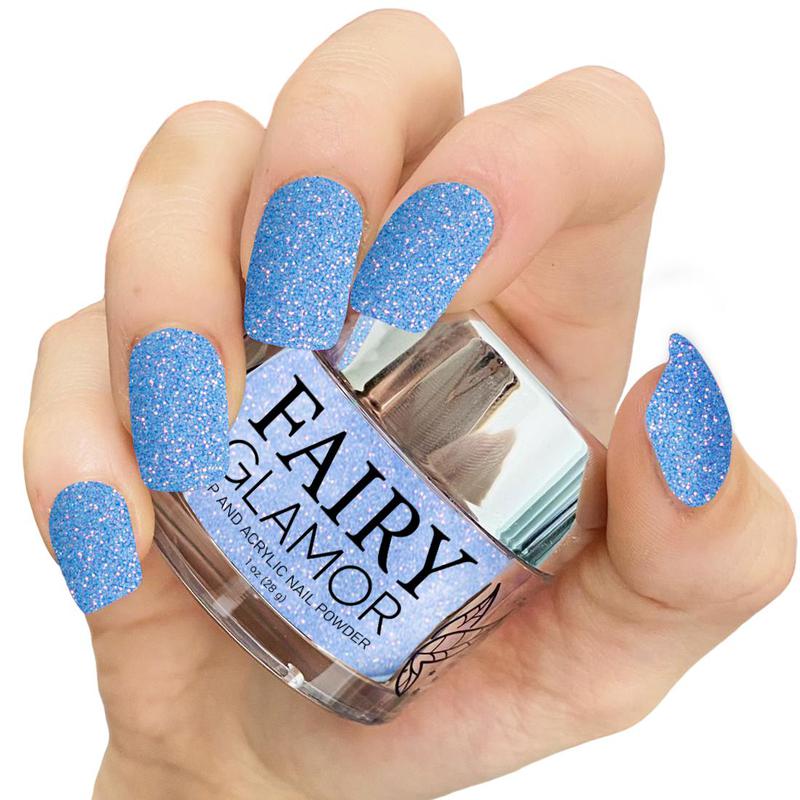
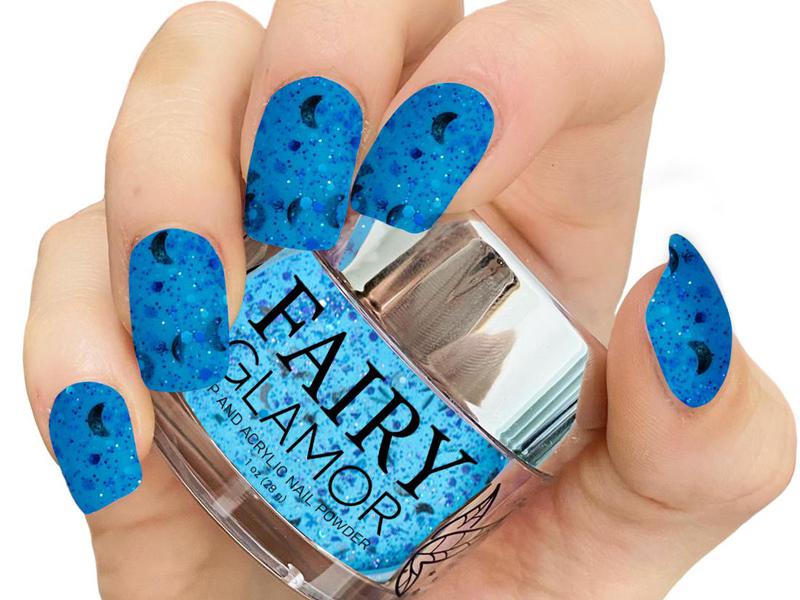
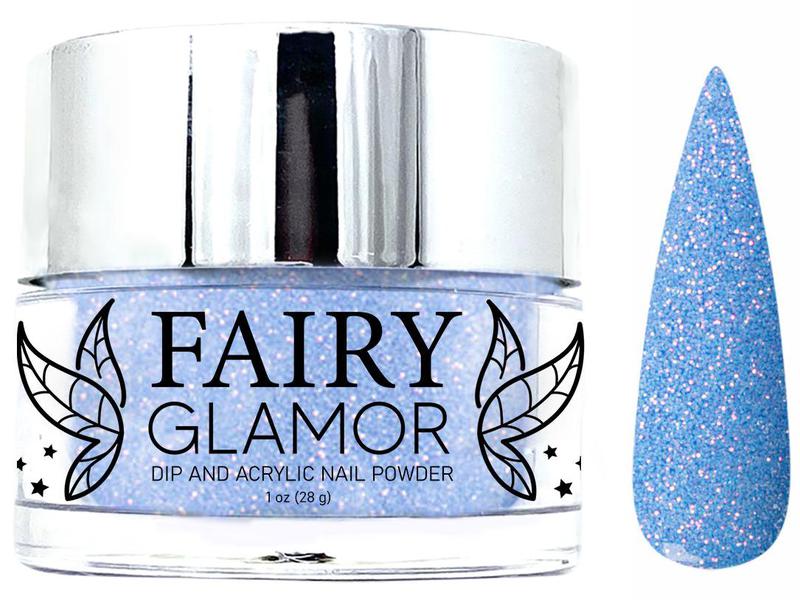
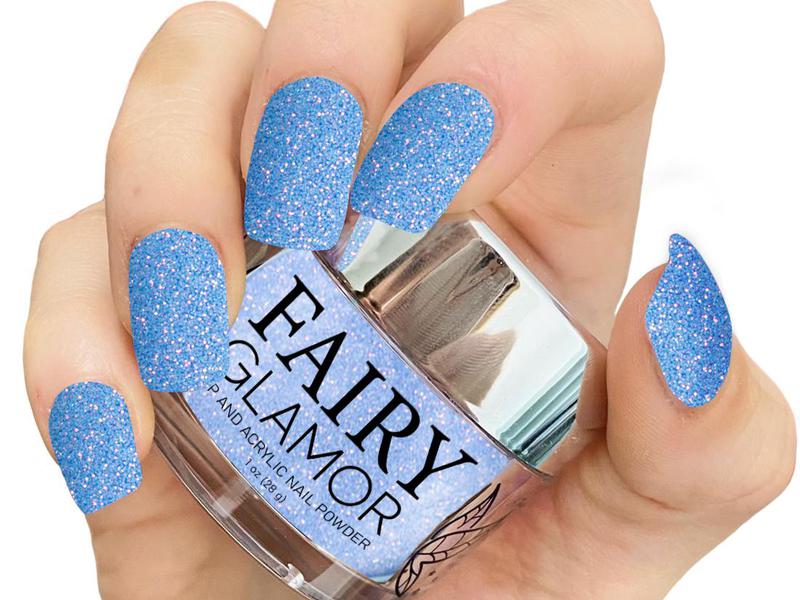
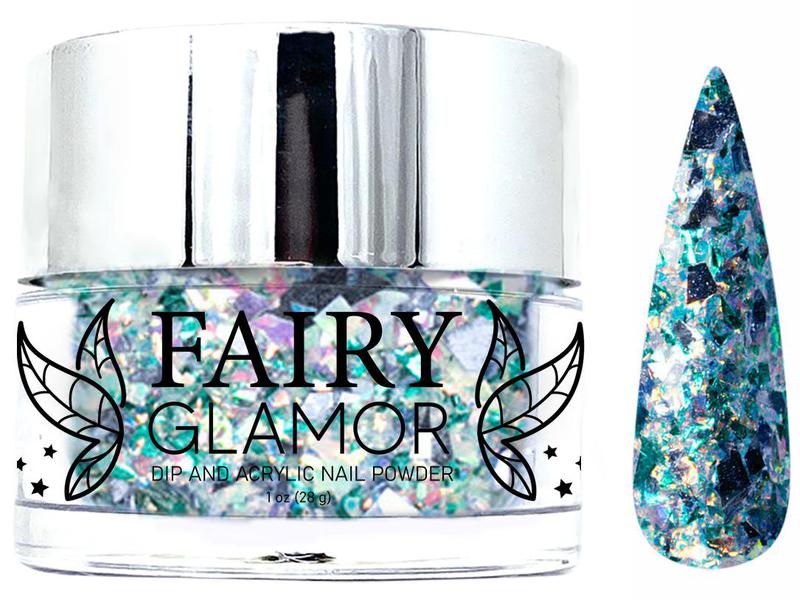
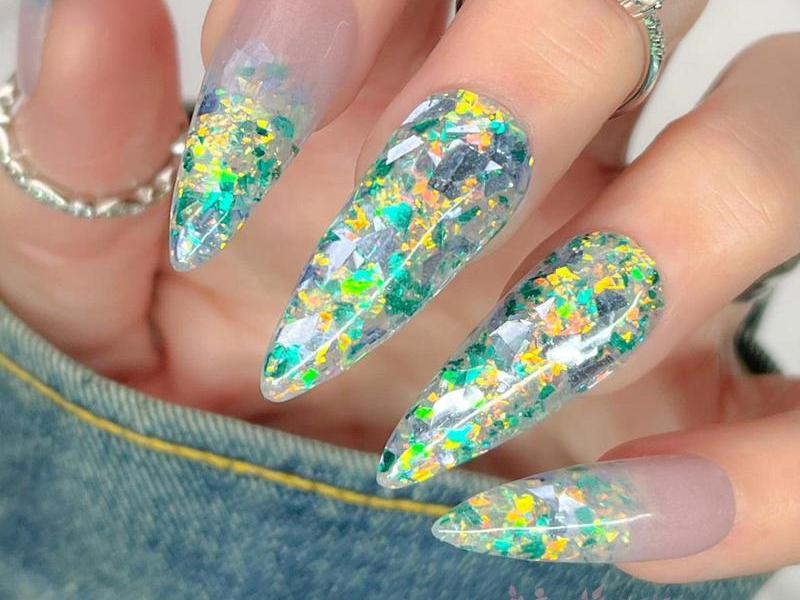
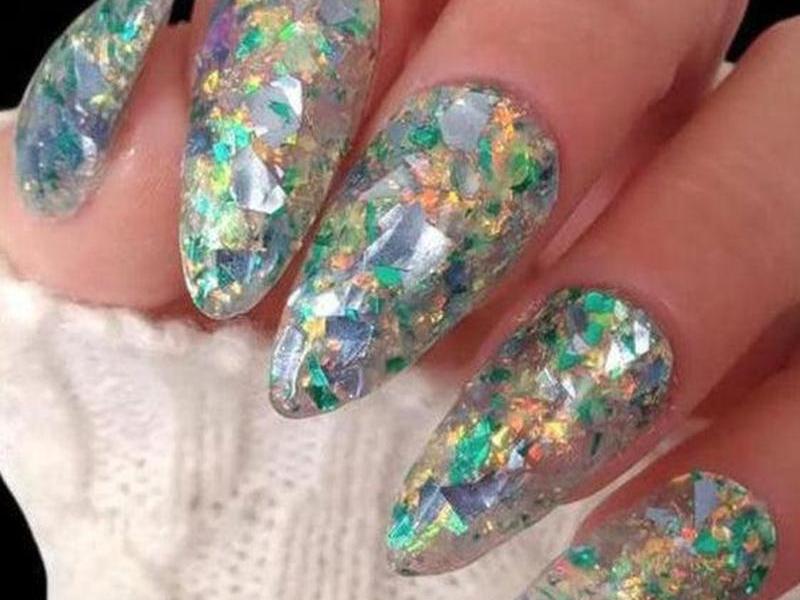
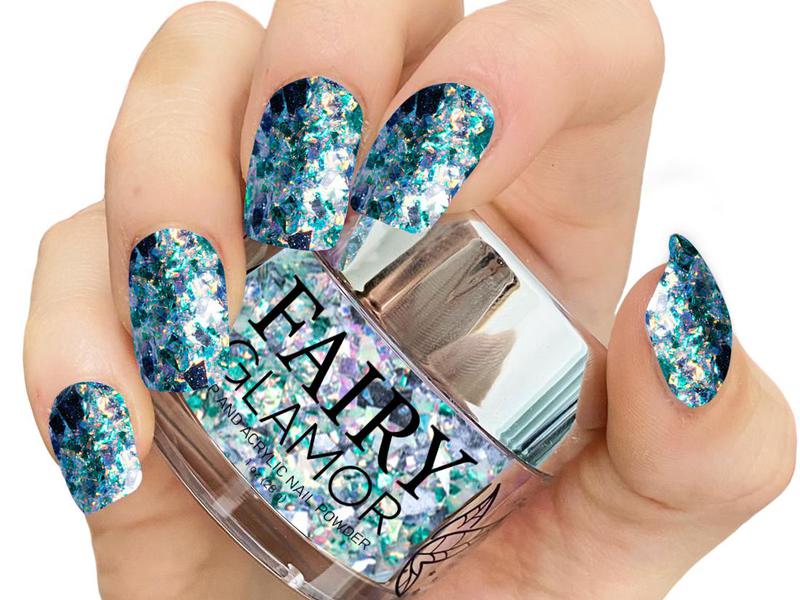
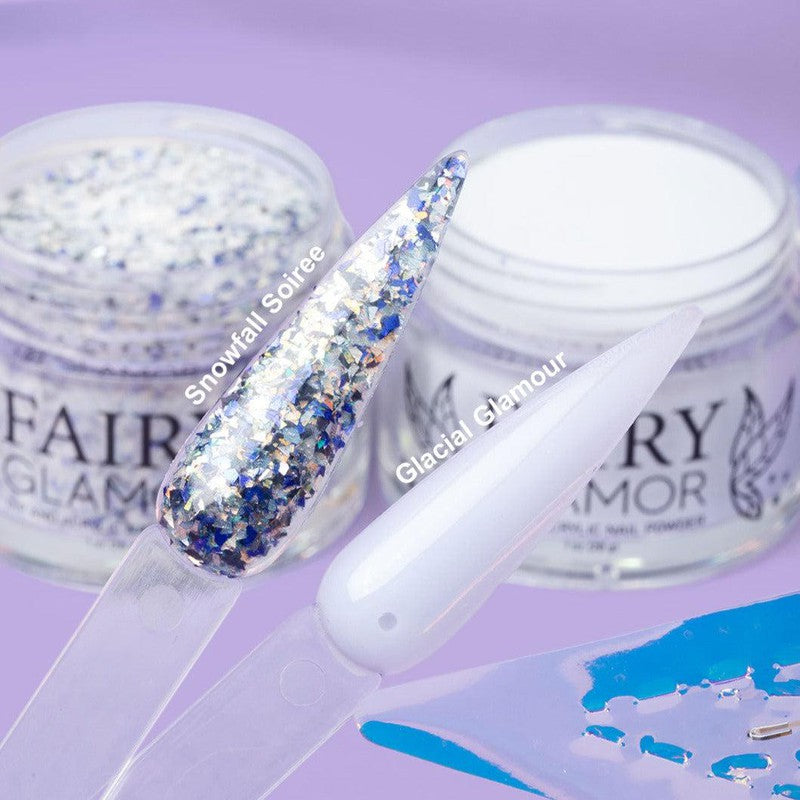
There’s a great chance that your acrylic powder just sucks. Try out Fairy Glamor 2-in-1 dip and acrylic powders for best results!